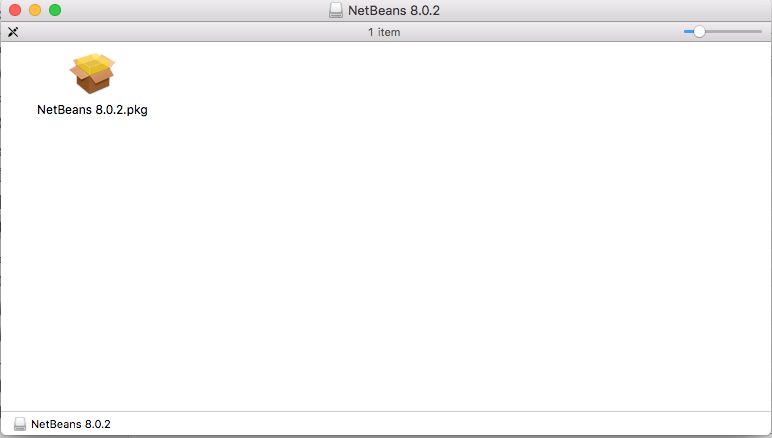
Blakes 21 Days Appendix A
Screenshot Links
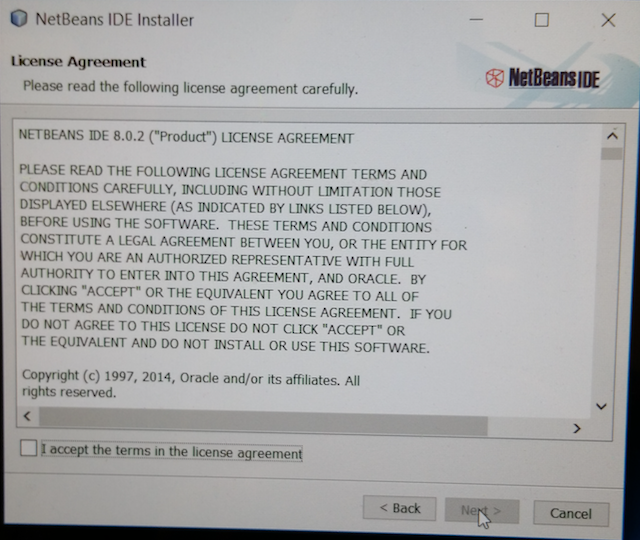
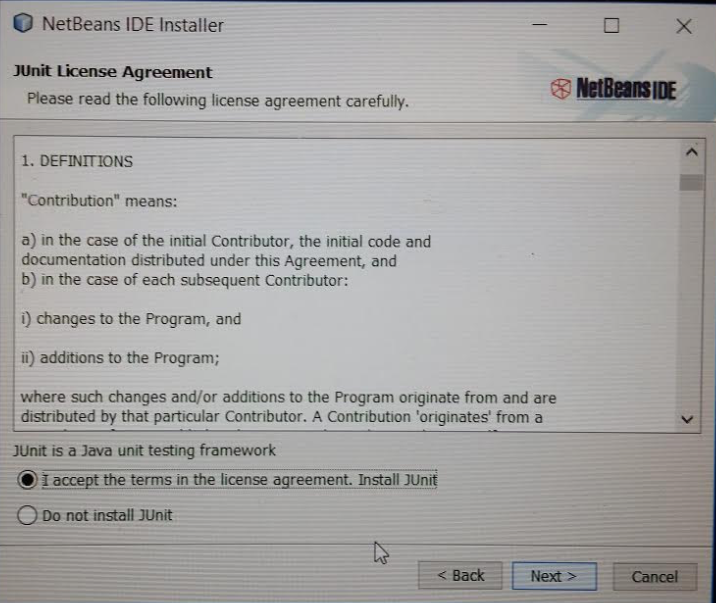
- Navigational Links within this document - trying to install the JDK from Oracle and also install NetBeans
- Appendix A
Appendix A, Using the NetBeans Integrated Development Environment
- Top
- Sams Teach Yourself Java in 21 Days
- 597 Although it's possible to create Java programs with nothing more than the Java Development Kit and a text editor,
- the experience is considerably more pleasant when you use an integrated development environment (IDE).
- 597 The first 20 days of this book employ NetBeans, a free IDE that Oracle offers to Java programmers,
- NetBeans is a program that makes it easier to organize, write compile, and test Java software, and many other tools.
- One killer feature is a code editor that automatically detects Java syntax errors as you type.
- 597 Now in version 8.0.2, NetBeans has become a favorite of the professional Java developers,
- offering functionality and performance that used to be available only in commercial development tools at no cost.
- It's also one of the easiest IDEs for Java novices to use.
- 597 In this appendix, you install NetBeans and learn how to use it in projects created in this book.
Installing NetBeans
- Top
- 598 From inauspicious beginnings, the NetBeans IDE has grown to become one of the leading programming tools for Java developers.
- James Gosling, creator of the Java language, wrote in the forward to NetBeans Field Guide: "I use NetBeans for all my Java development."
- I've become a convert as well.
- 598 NetBeans supports all facets of Java programming for the three editions of the language - Java Standard Edition (JSE), Java Enterprise Edition (JEE), and Java Micro Edition (JME).
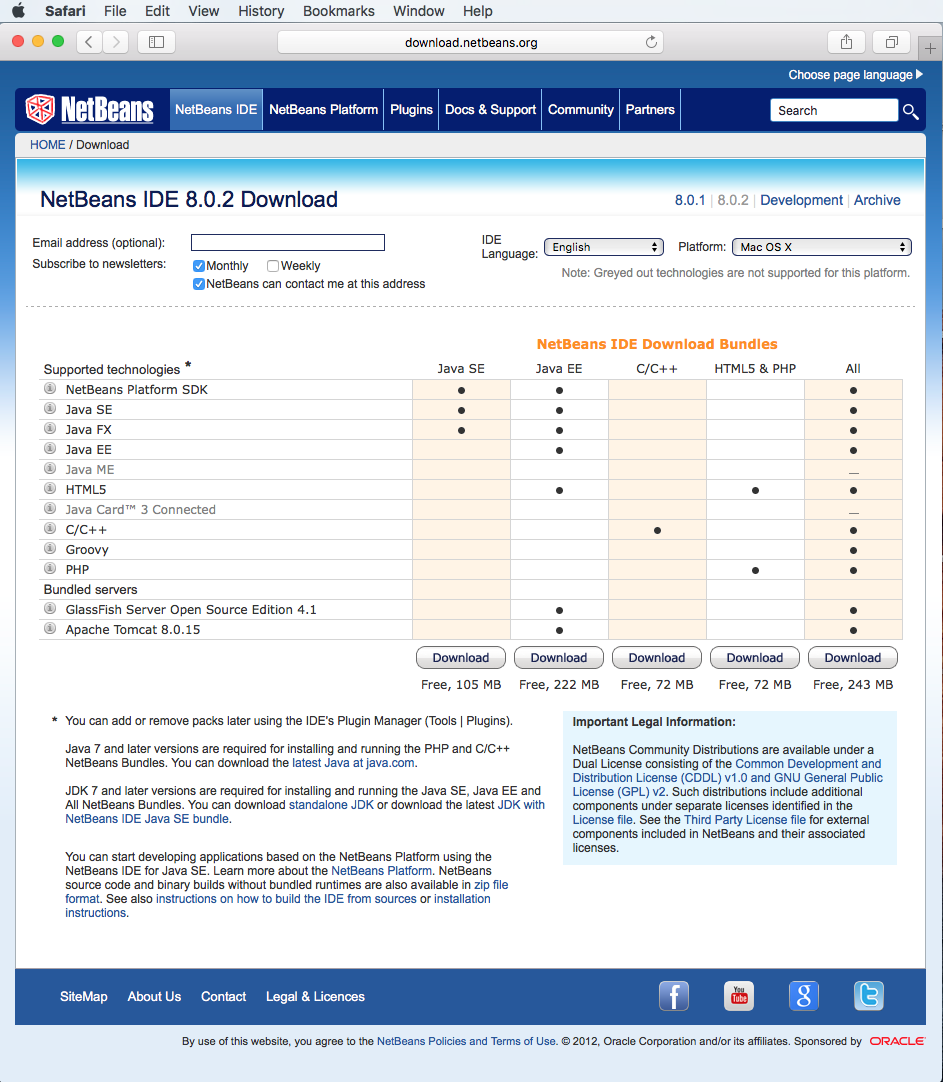
- 598 You can download NetBeans for Windows, Mac OS, and Linux, from www.netbeans.org.
- NetBeans is available for download bundled with Java Development Kit, but it's easy to install them separately.
- 598 If you'd like to ensure that you're downloading the same version of NetBeans used to write this book, visit the book's website at www.java21days.com.
- Click the book's cover to open the site for this edition, and then look for the Download JDK 8 and Download NetBeans 8.0.2 links.
- You'll be steered to the proper files.
- Top
- 598 TIP: After you have installed NetBeans, you can use the IDE to get latest version of the software.
- Choose the menu command Help, Check for Updates.
- (On Windows, you might need to run NetBeans as an administrator.
- To do this, right-click the NetBeans icon in a folder and choose Run as Administrator.)
Creating a New Project
- Top
- 598 The JDK and NetBeans are downloaded as installation wizards that set up the software on your system.
- You can install the software in any folder and menu group you like, but it's best to stick with the default setup options unless you have a good reason to do otherwise.
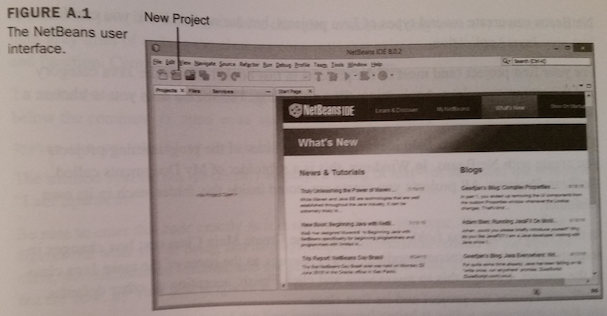
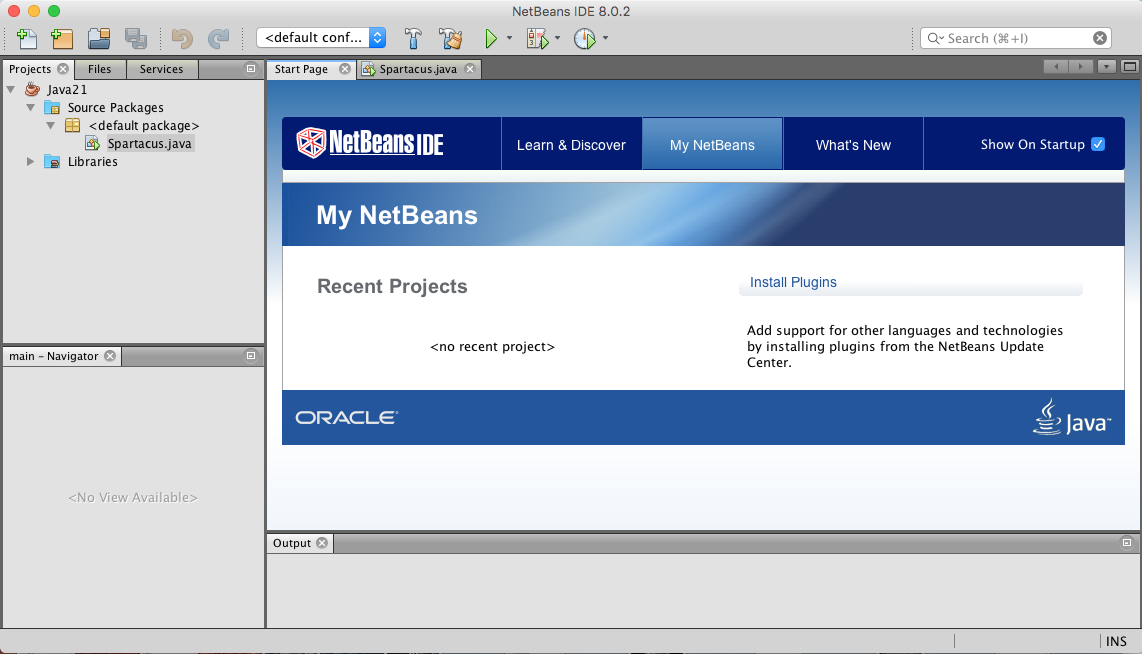
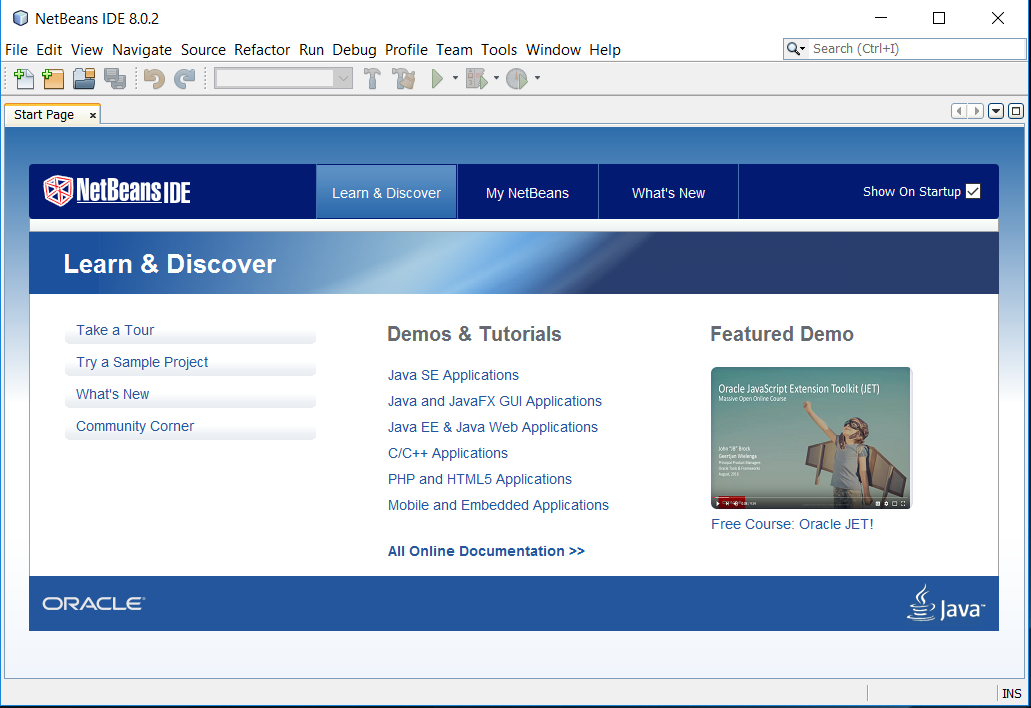
- 598 When you run NetBeans for the first time after installation, you see a start page that displays links to news, programming tutorials, and blogs, as shown in Figure A.1.
- You can read these within the IDE using NetBean's built in browser.
Figure A.1 - The NetBeans user interface. - goes here
- Top
- 599 A NetBeans project consists of a set of related Java classes, files used by those classes, and Java class libraries.
- Each project has its own folder.
- You can explore and modify the files in the folder outside of NetBeans usinf text editors and other programming tools, like any other Java source code you create outside of NetBeans.
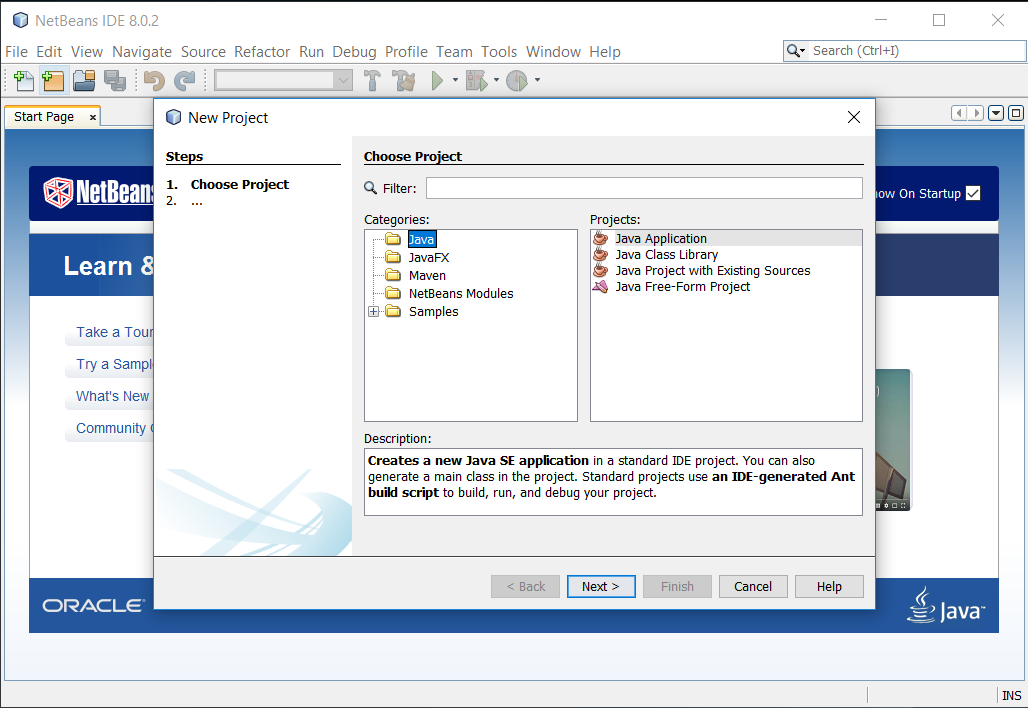
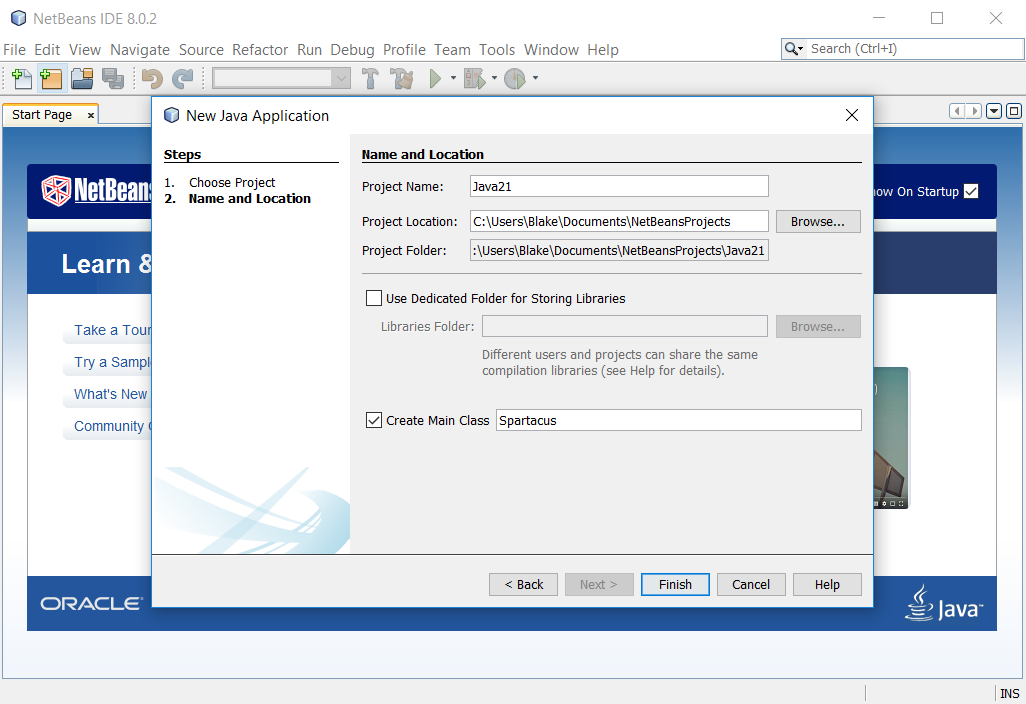
- 599 To begin a new project, click the New Project button shown in Figure A.1 or select File, New Project.
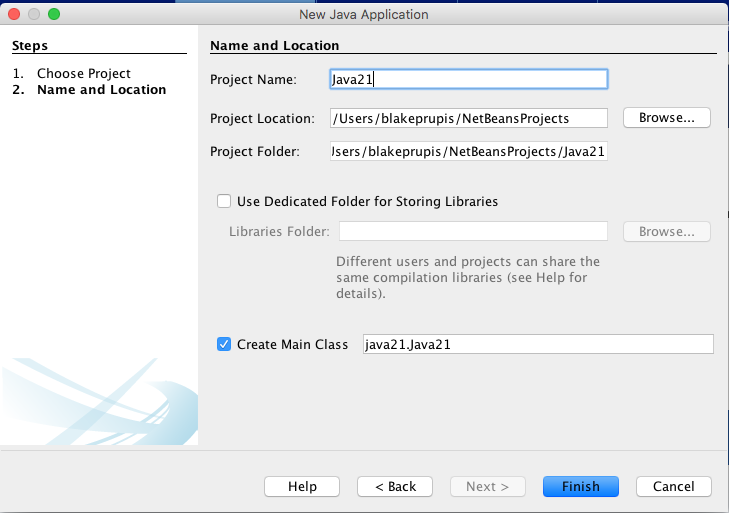
- The New Project Wizard opens, as shown in Figure A.2
Figure A.2 - The New Project Wizard. - goes here
- Top
- 600 NetBeans can create several types of Java projects, but during this book you can focus on just one: Java Application.
- 600 For your first project (and most of the projects in this book),choose the Java category and the project type Java Application, then click Next.
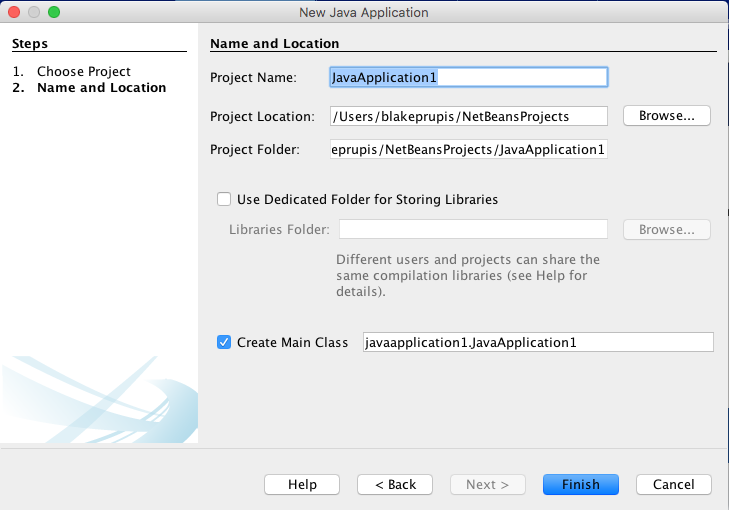
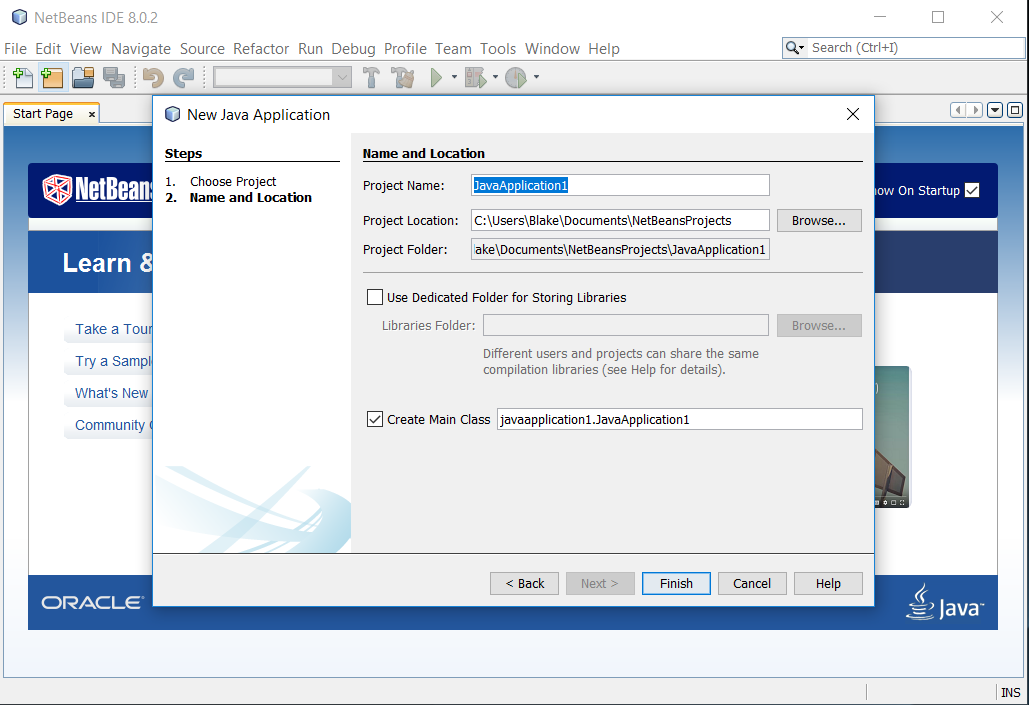
- The wizard asks you to choose a name and location for the project.
- 600 The Project Location text field identifies the root folder of the programming projects you create with NetBeans.
- In Windows, this is a subfolder of My Documents called NetBeansProjects.
- All projects you create are stored inside this folder, each in its own subfolder.
- 600 In the Project Name text field, enter Java21.
- The Create Main Class text box changes in response to the input, recommending java21.
- Java21 as the name of the main Java class in the project.
- Change this to Spartacus and click Finish, accepting all other defaults.
- NetBeans creates the project and its first class.
Creating a New Java Class
- Top
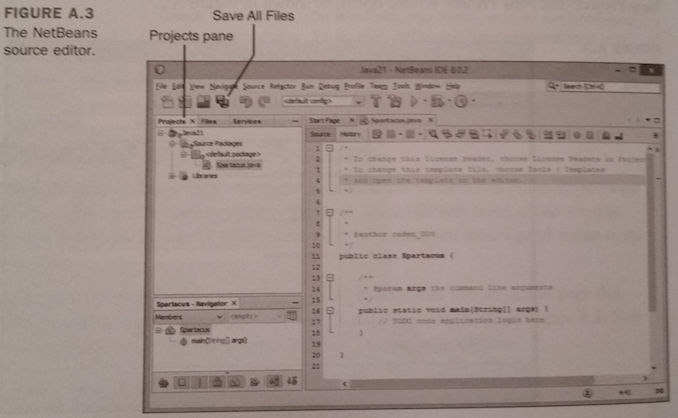
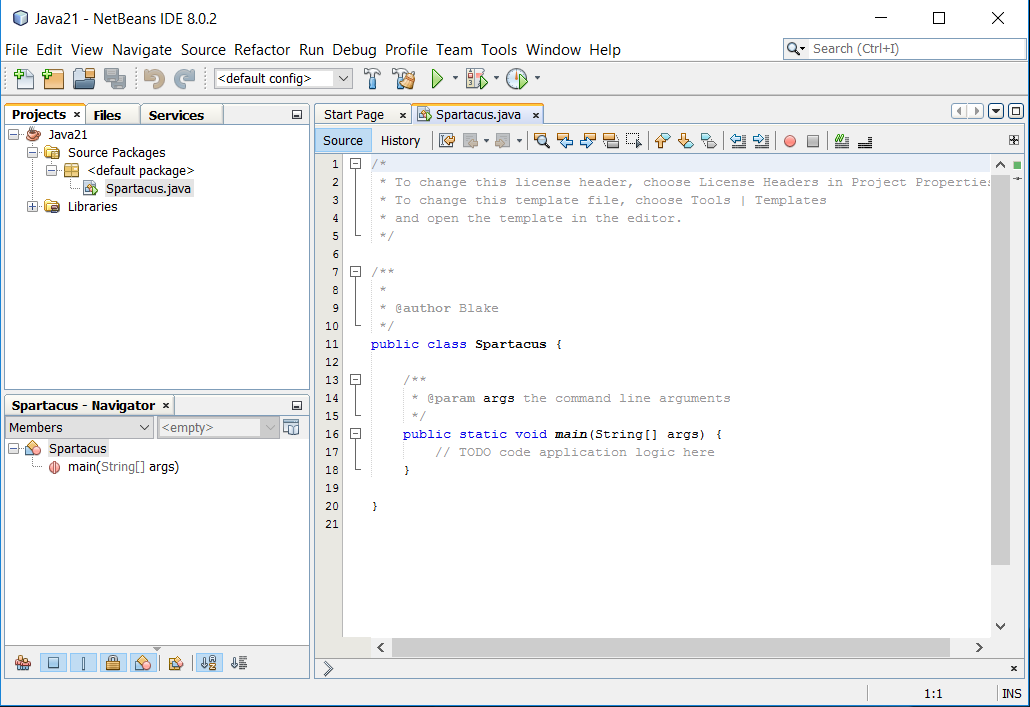
- 600 When NetBeans creates a new project, it sets up all the necessary files and folders and creates starting code for the main class.
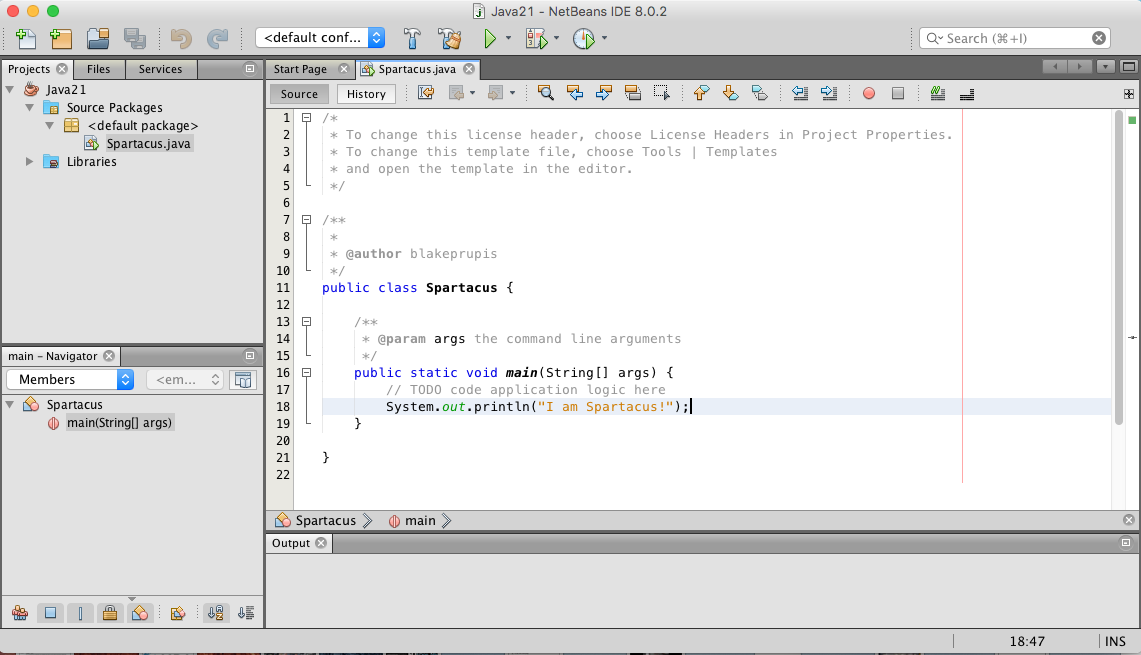
- Figure A.3 shows the first class in your project, Spartacus.java, open in the source editor.
Figure A.3 - The NetBeans source editor. - goes here
- Top
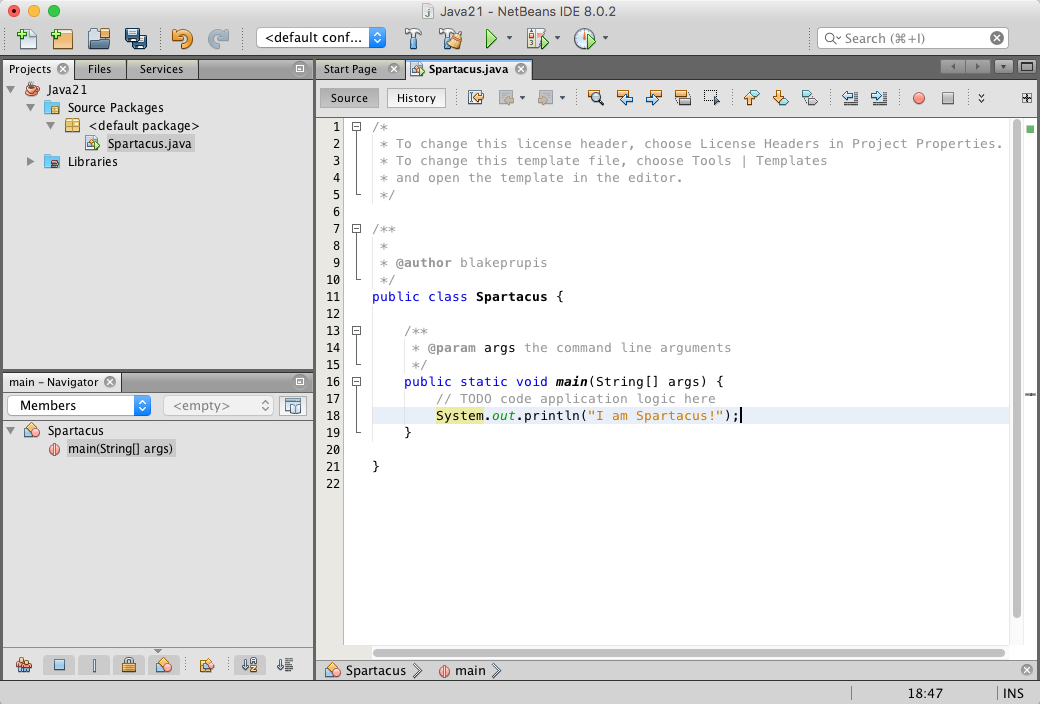
- 601 Spartacus.java is a bare-bones Java class that consists of only a main() method.
- All the light gray lines of code in the class are comments that exist to explain the class's purpose and function.
- Comments are ignored when the class is run.
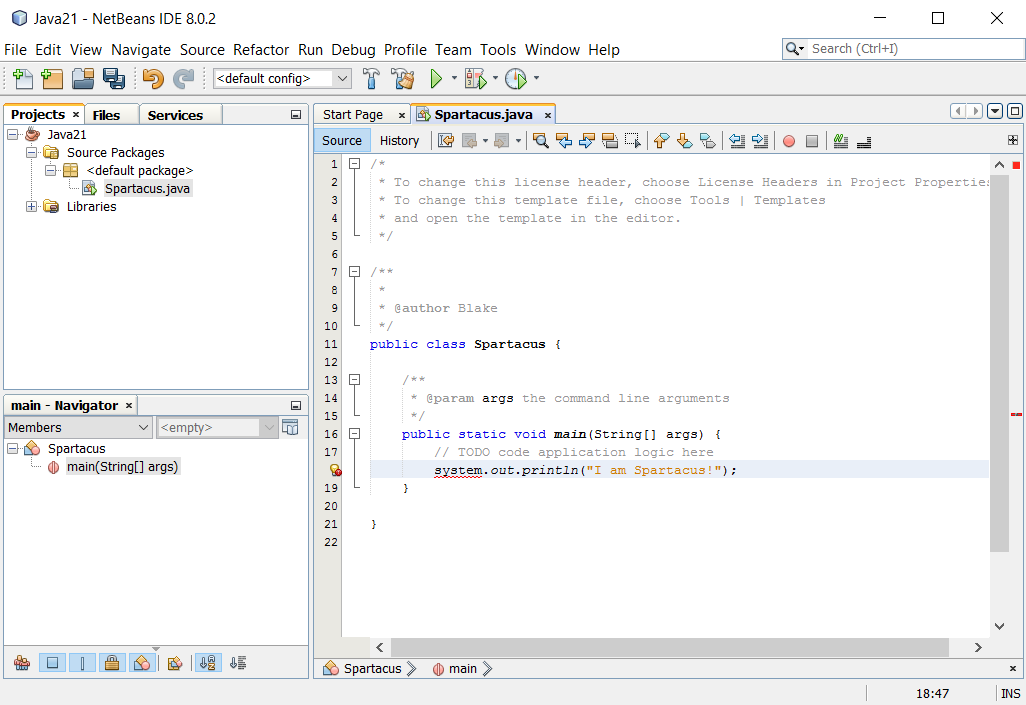
- 601 To make the new class do something, add the following line of code on a new line right below the comment // TODO code application logic here:
- System.out.println("I am Spartacus");
- 601 The method System.out.println() displays a string of text - in this case, the sentence "I am Spartacus!"
- 601 Be sure to enter this code exactly as it is shown here.
- As you type, the source editor figures out what you're doing and displays helpful information related to the System class, the out instance variable, and the println() method.
- You'll love this stuff later, but for now, try your best to ignore it.
- 601 After you ensure that you typed the line correctly, and ended it with a semicolon, click the Save All Files button on the toolbar to save the class.
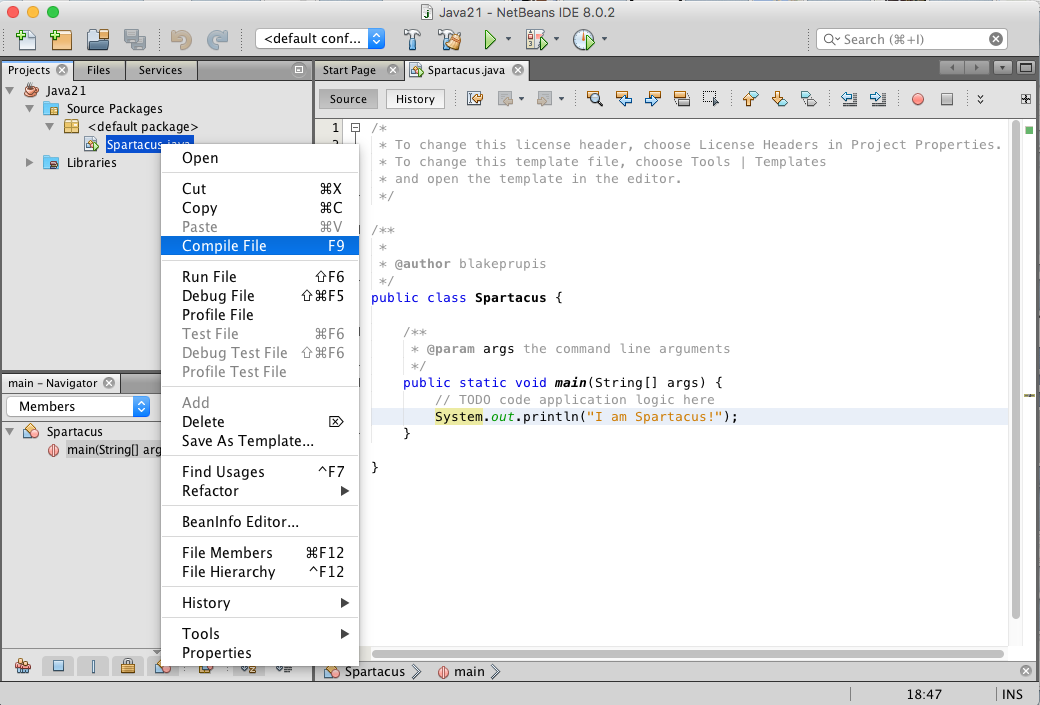
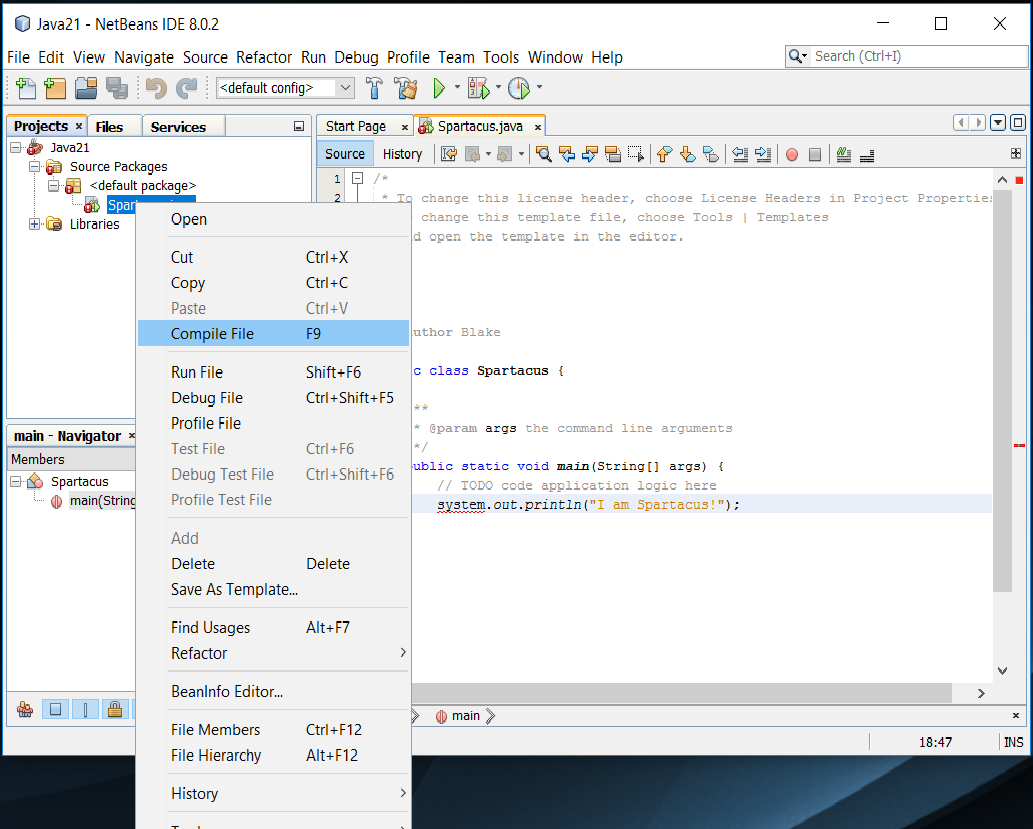
- 601 Java classes must be compiled into executable bytecode before you can run them.
- This bytecode will run by an interpreter called the Java Virtual Machine (JVM).
- NetBeans tries to compile classes automatically.
- You also can manually compile this class in two ways:
- Select Run, Compile File.
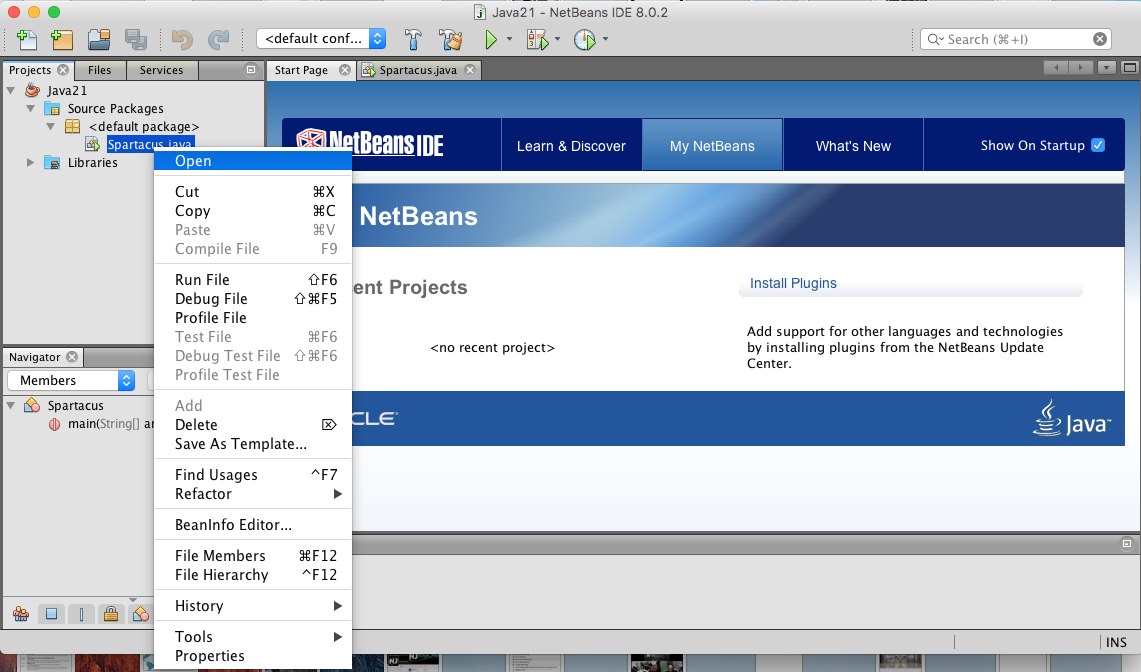
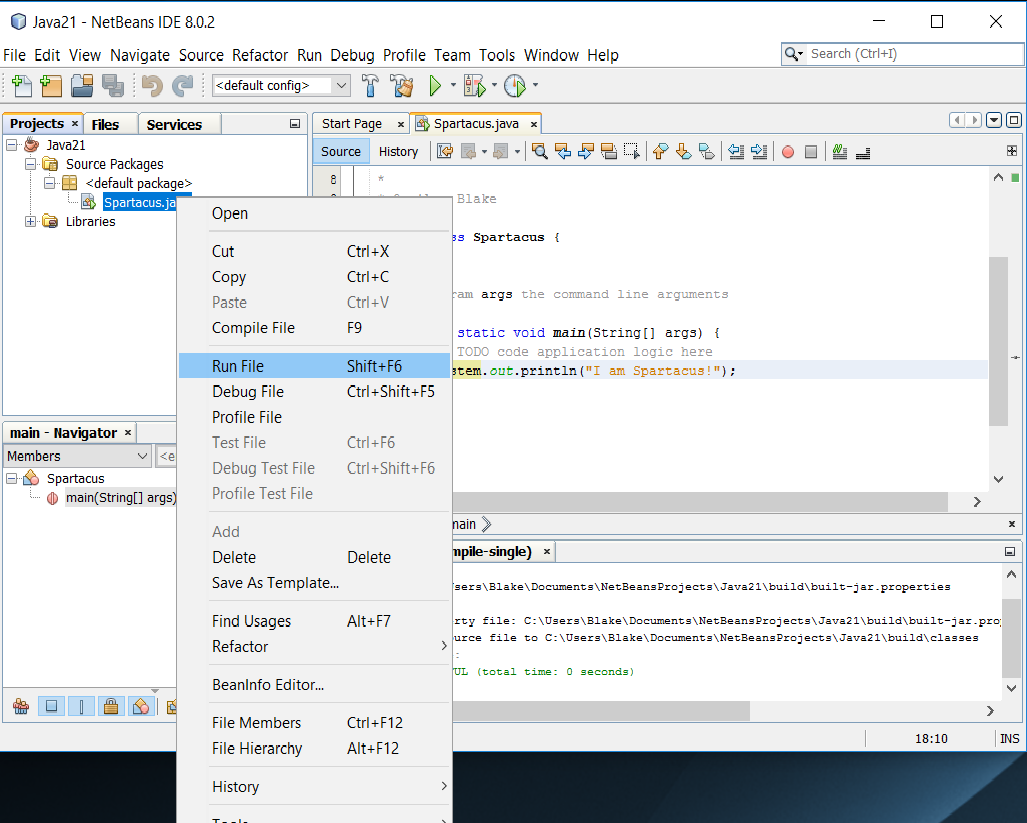
- Right-click Spartacus.java in the Projects pane to open a pop-up menu, and choose Compile File.
- 601 If NetBeans doesn't allow you to choose either of these options, NetBeans already has compiled the class.
- 601 If the class does not compile successfully, a white exclamation point in a red circle appears next to the file name Spartacus.java in the Projects pane.
- To fix this error, compare what you've typed in the text editor to the full source code of Spartacus.java, shown in Listing A.1, and resave the file.
Listing A.1 The Full Text of Spartacus.java
- Top
- Page 601-602
/*
* To change this template, choose Tools | Template
* and open the template in the editor.
*/
/**
*
* @author User
*/
public class Spartacus (
/**
* @param args the command line arguments
*/
public static void main(String[], args) {
// TODO code application logic here
System.out.println("I am Spartacus!");
}
}
The Explanation
- Top
- 602 The class is defined in Lines 10-21.
- Lines 1-9 are comments that NetBeans includes in every new class.
Running the Application
- Top
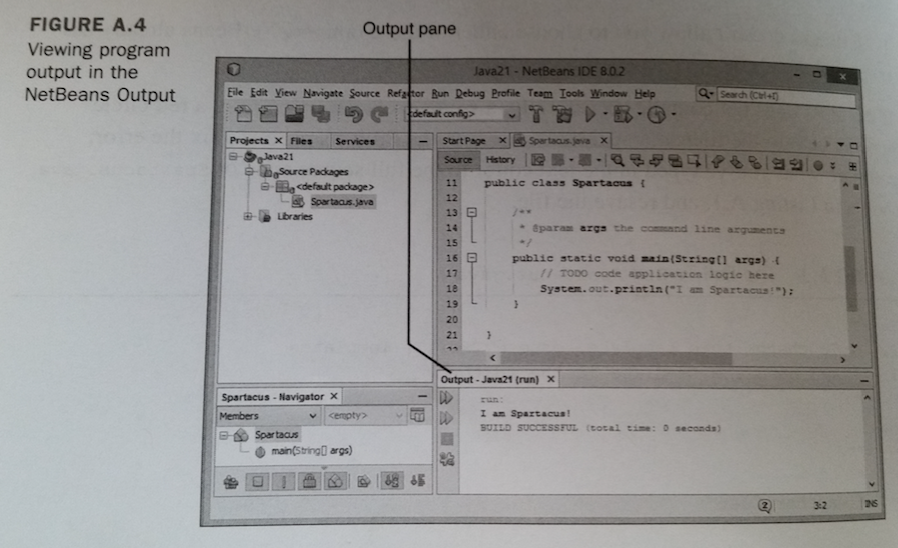
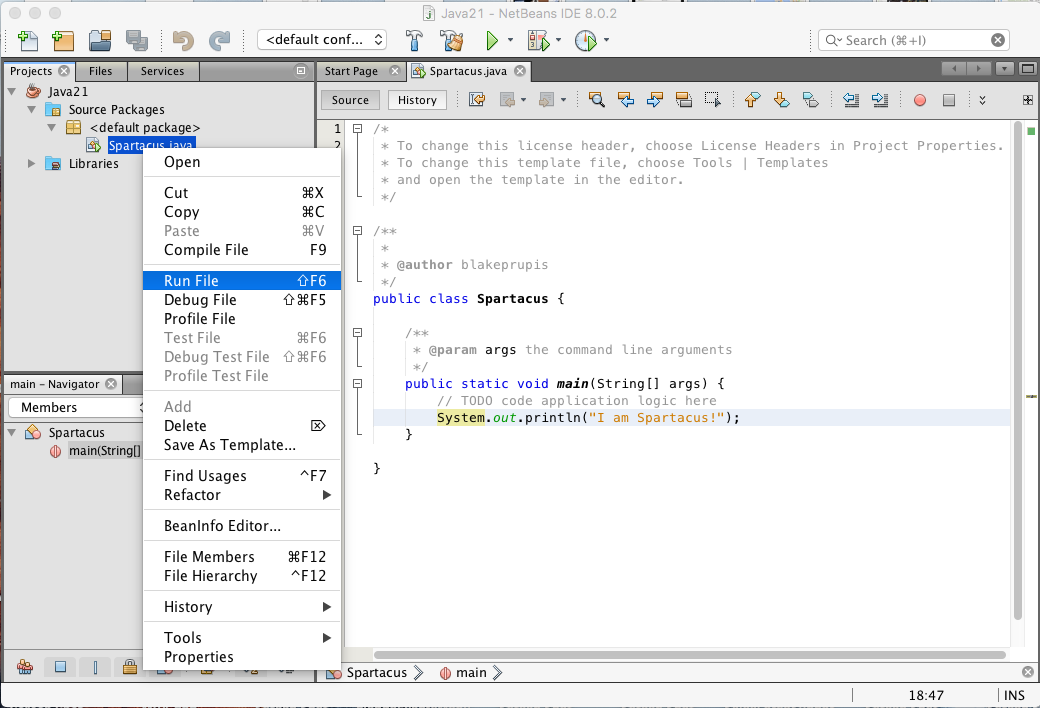
- 602 After you've created the Java application Spartacus and compiled it successfully, you can run it in the Java Virtual Machine within NetBeans in two ways:
- Choose Run, Run File
- Right-click Spartacus.java in the Projects pane, and choose Run File.
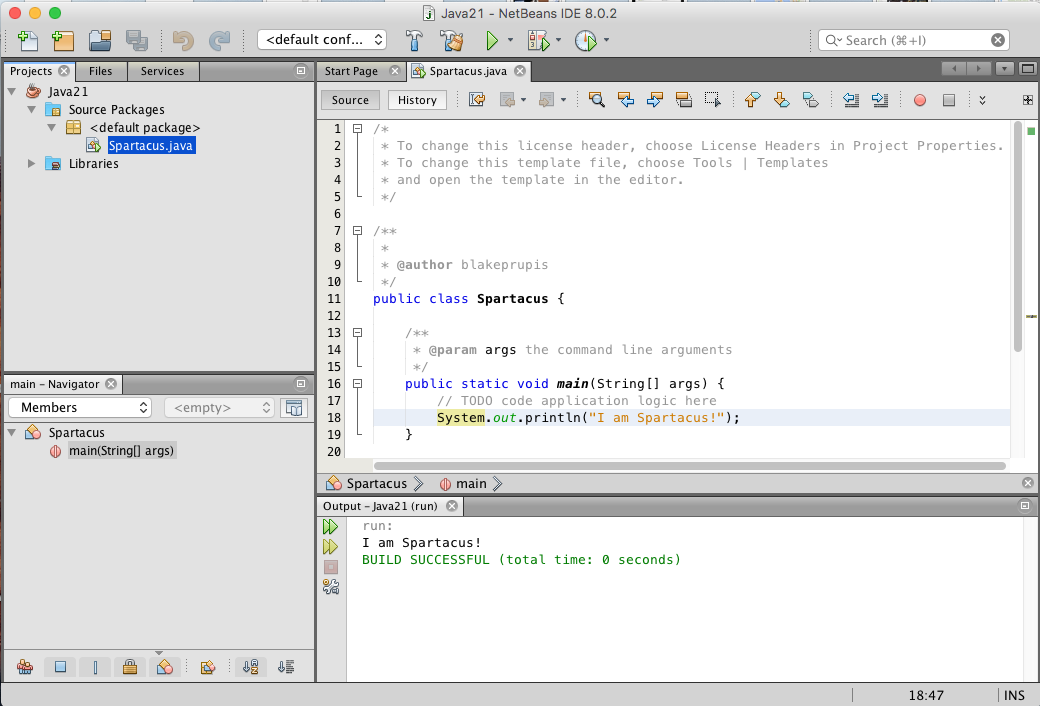
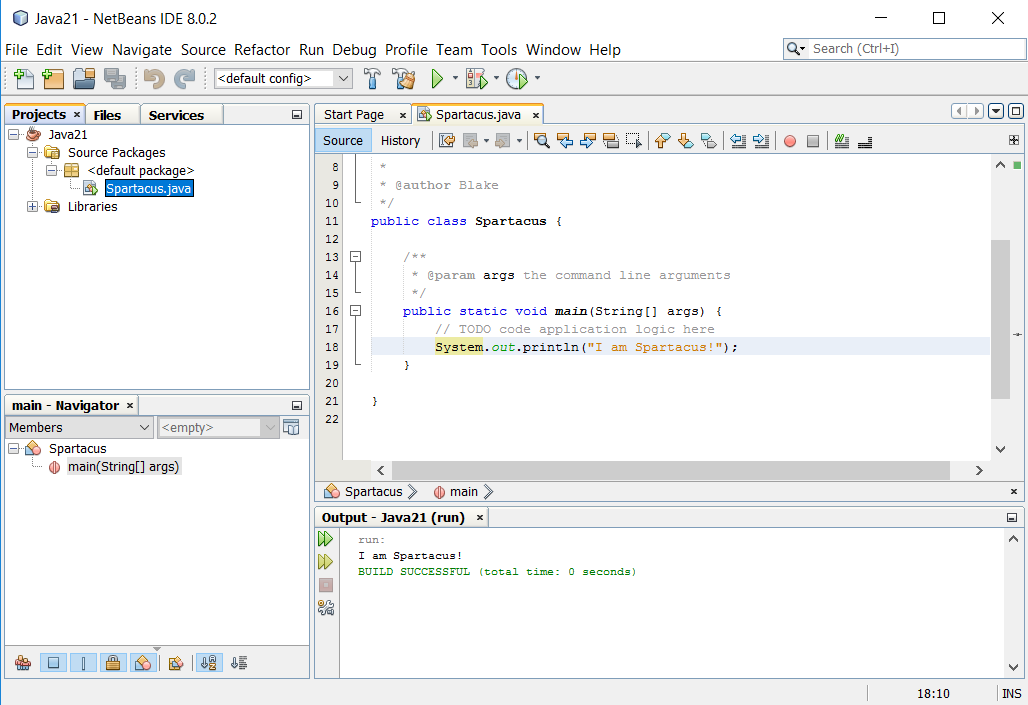
- 602 When you run a Java class, the JVM calls its main() method.
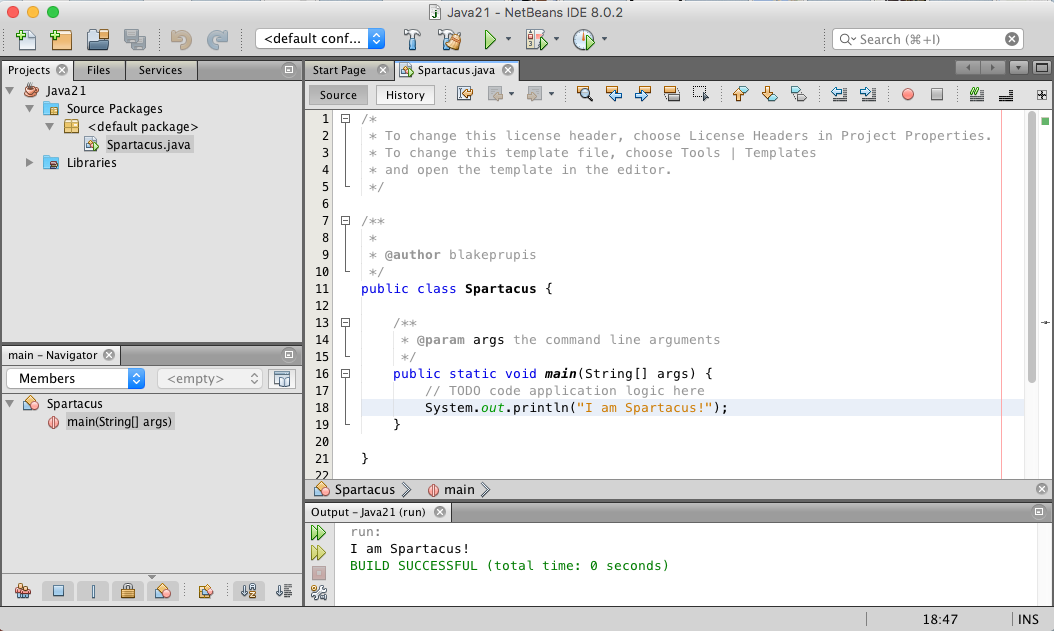
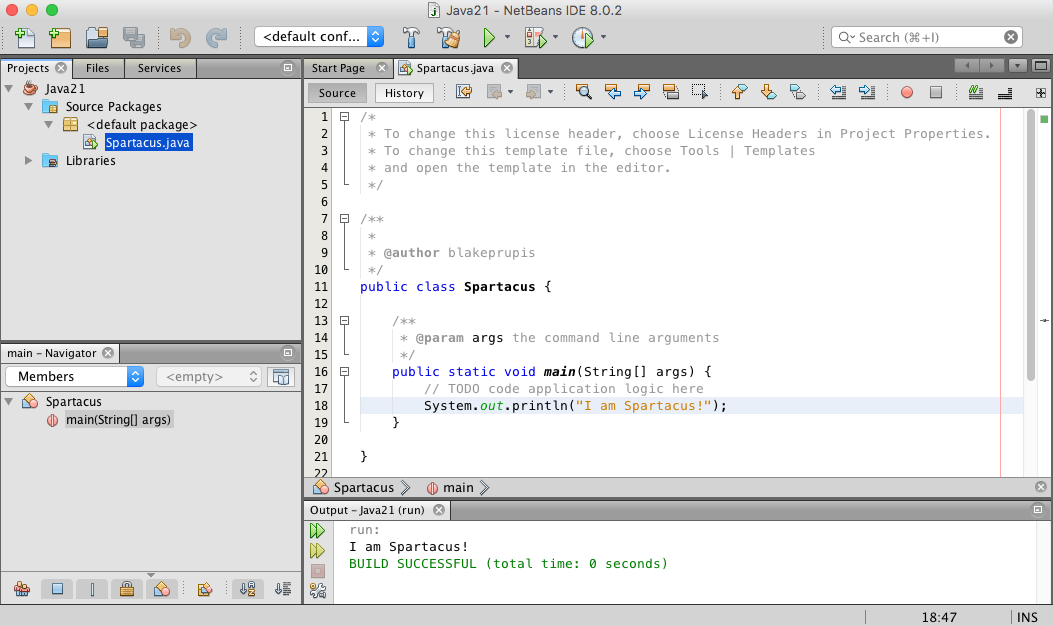
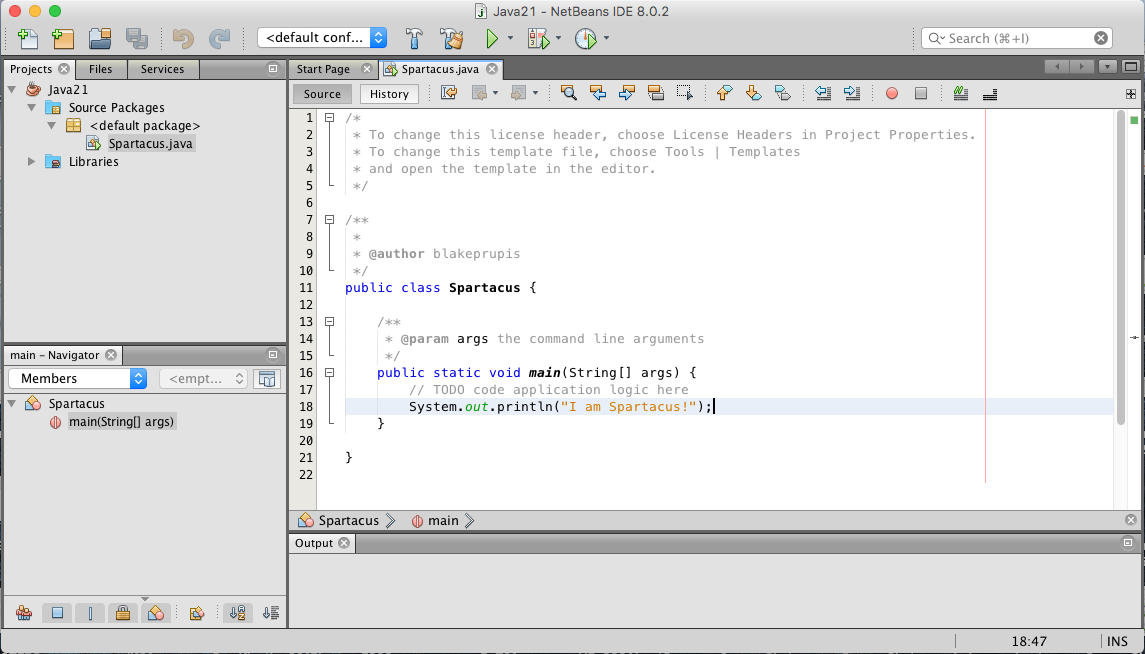
- In the Spartacus class, the string "I am Spartacus!" appears in the Output pane, as shown in Figure A.4.
Figure A.4 - Viewing program output in the NetBeans Output pane. - goes here
- Top
- 603 A Java class must have a main() method to be run.
- If you attempt to run a class that lacks a main() method, NetBeans responds with an error.
Fixing Errors
- Top
- 603 Now that the Spartacus application has been written, compiled, and run, it's time to break something to get some experience with how NetBeans response when things go terribly wrong.
- Like any Java programmer, you'll soon get plenty of practice screwing up things on your own, but pay attention here anyway.
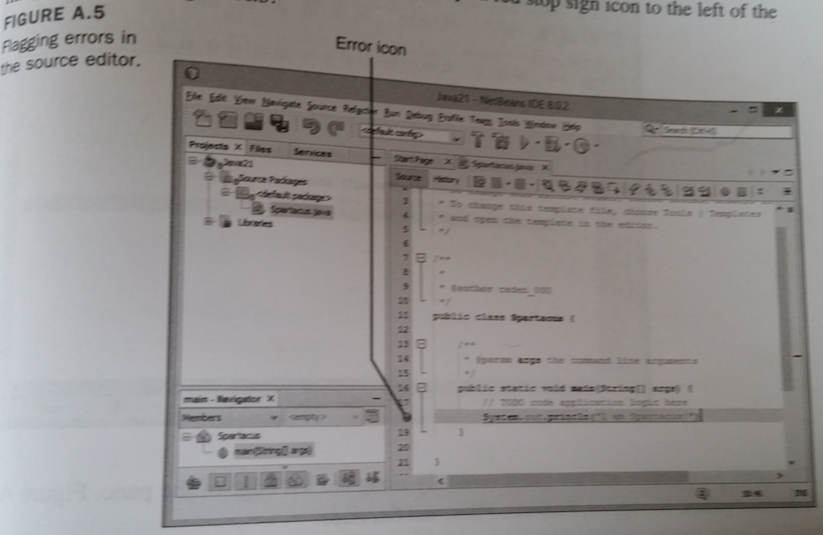
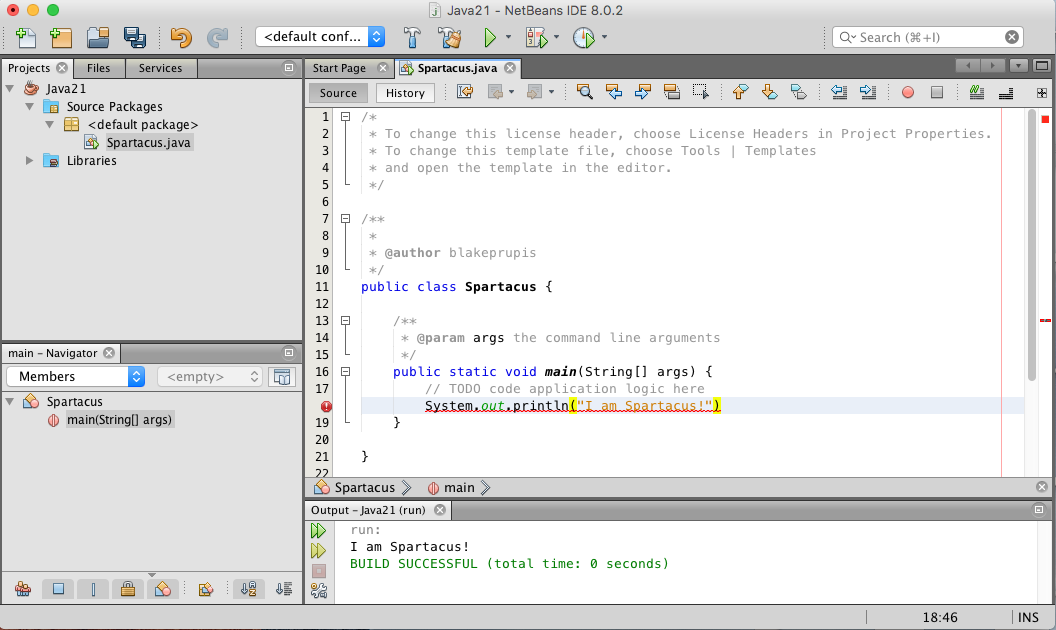
- 603 Return to Spartacus.java in the source editor, and remove the semicolon from the end of the line that calls System.out.println() (line 17 in Listing A.1).
- Even before you save the file, NetBeans spots the error and displays a red stop sign icon to the left of the line, as shown in Figure A.5.
Figure A.5 - Flagging errors in the source editor. - goes here
- Top
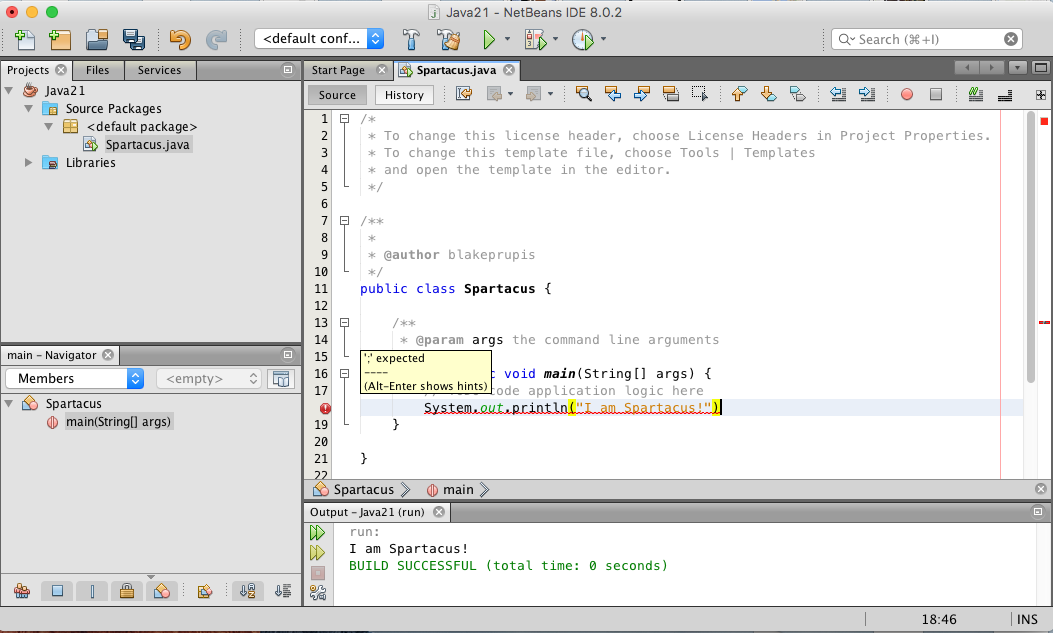
- 603 Hover the mouse cursor over the stop sign icon to see a dialog that describes the error NetBeans think it has spotted.
- 603 In this situation, the error message is simple: " ';' expected".
- 603 The NetBeans source editor can identify many common programming errors and typos it encounters as you write a Java program.
- It stops the file from being compiled until the errors have been removed.
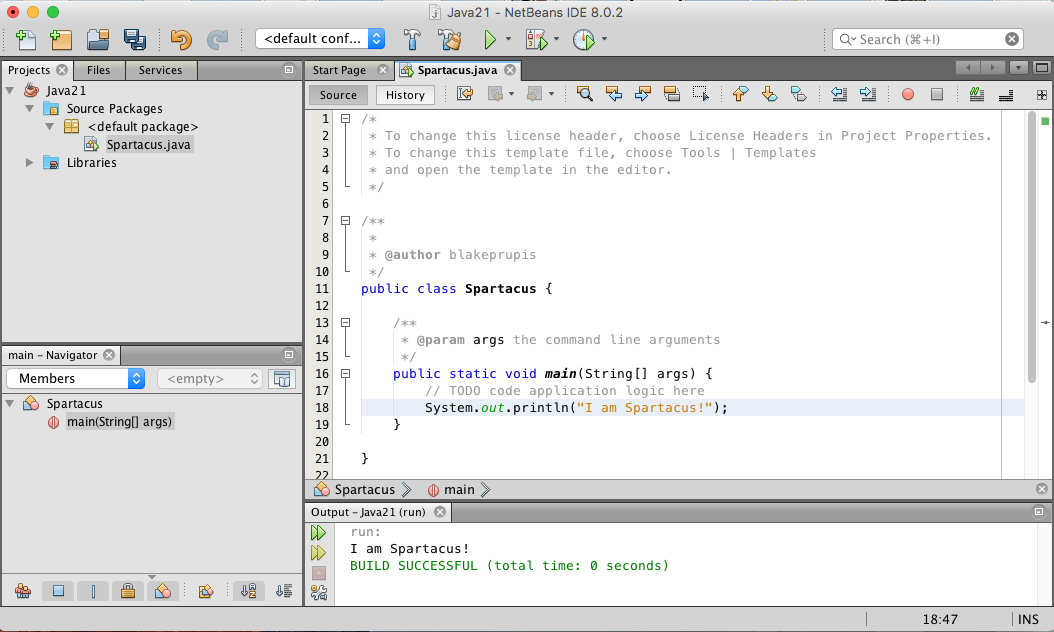
- 603 Put the semicolon back at the end of the line.
- The error icon disappears, and you can save and run the class again.
Expanding and Shrinking a Pane
- Top
- 604 As you use NetBeans, several panes usuall y will be open at the same time, including the source editor, Projects pane, and Output pane.
- They all compete for a limited amount of space on the program's user interface.
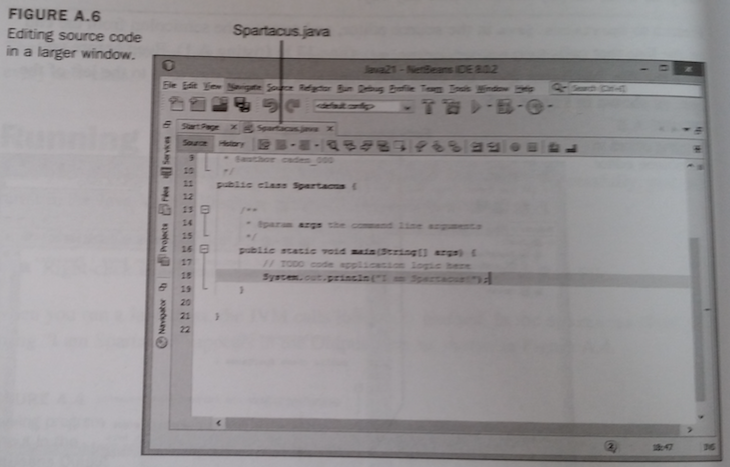
- 604 You can make one pane take up the entire NetBeans interface: Double-click the pane's tab.
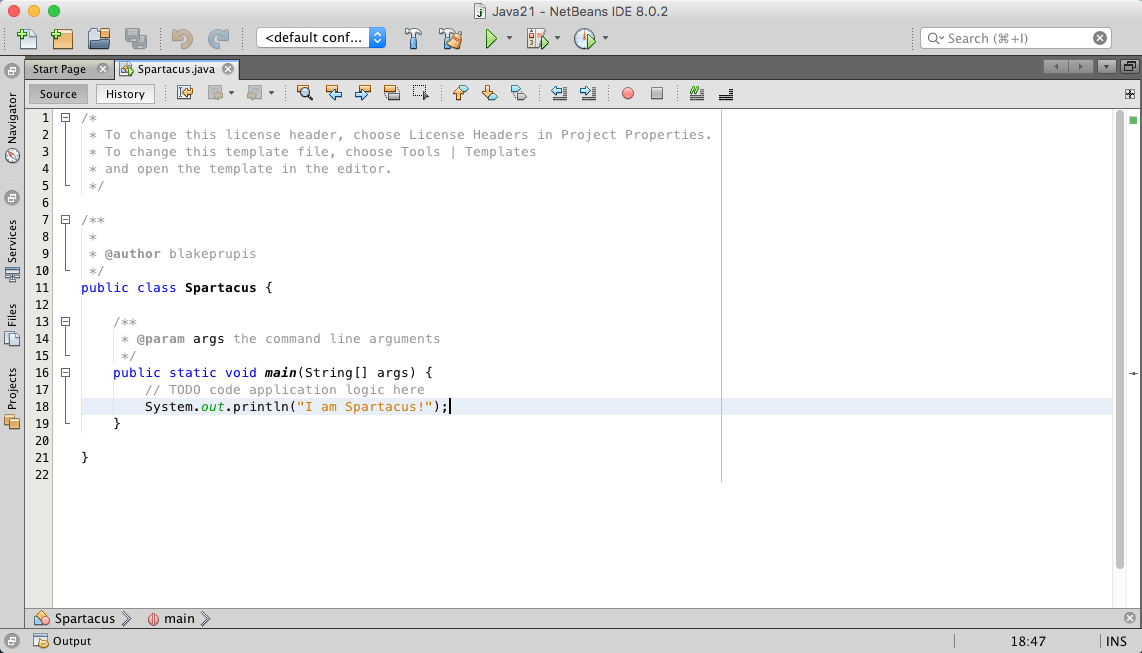
- 604 To see this in action, double-click the tab Spartacus.java.
- The source editor expands, giving you more room to view the source code and make changes (Figure A.6).
Figure A.6 - Editing source code in a larger window. - goes here
- Top
- 604 The other panes close and are listed vertically along the left edge of the pane.
- Figure A.6 lists four panes: Navigator, Projects, Files, and Services.
- 604 To shrink the source editor and go back to the normal appearance of BetBeans, double-click the tab Spartacus.java again.
- 604 As you begin using NetBeans, it's common to accidentally expand a pane to fill the entire interface.
- You always can shrink it by double-clicking the pane's tab.
Exploring NetBeans
- Top
- 605 These basic features of NetBeans are all you need to create and compile the Java programs in this book.
- 605 NetBeans is capable of a lot more than the features described here, but you should focus on learning Java before diving too deeply into the IDE.
- Use NetBeans as if it were just a simple project manager and text editor.
- Write classes, flag errors, and make sure you can compile and run each project successfully.
- 605 When you're ready to learn more about NetBeans, Oracle offers training and documentation resources at www.netbeans.org/fb.
- You also will see links to the latest tutorials on the page that loads each time you start NetBeans.
- Note: the link does get to the netbeans.org site but cannot find the page.
Reserve
Appendix A - First Try
- Top
- page 597 Appendix A
- reserve
Appendix A - Second Try's a Charm
- Top | Note: the links below do not go to the page listed, link goes to my screenshot for whatever is happening.
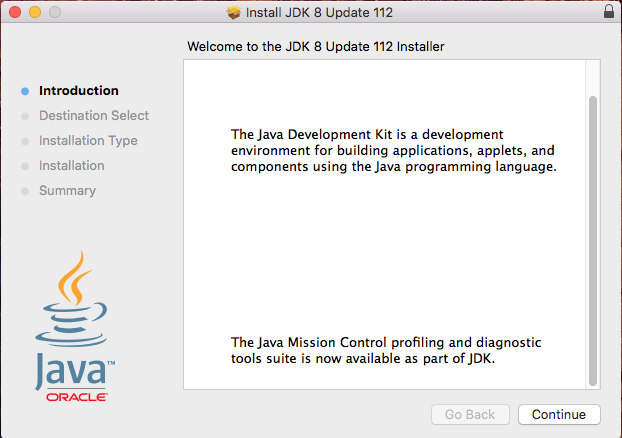
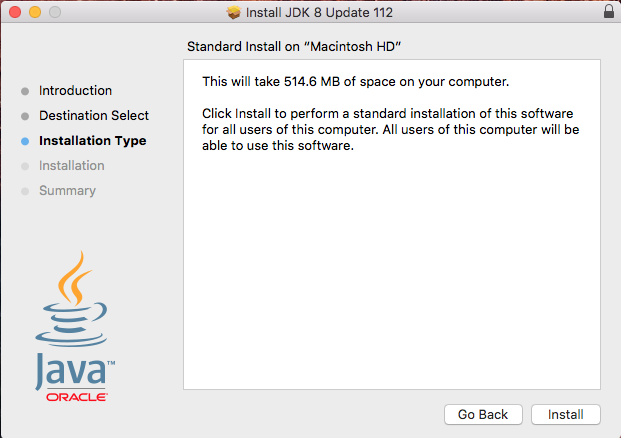
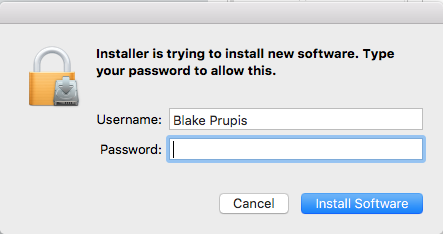
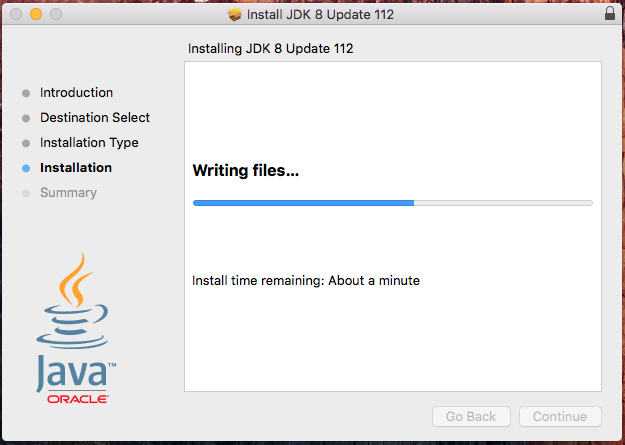
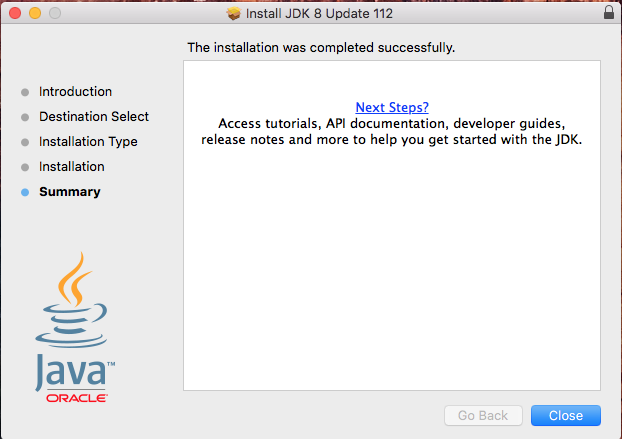
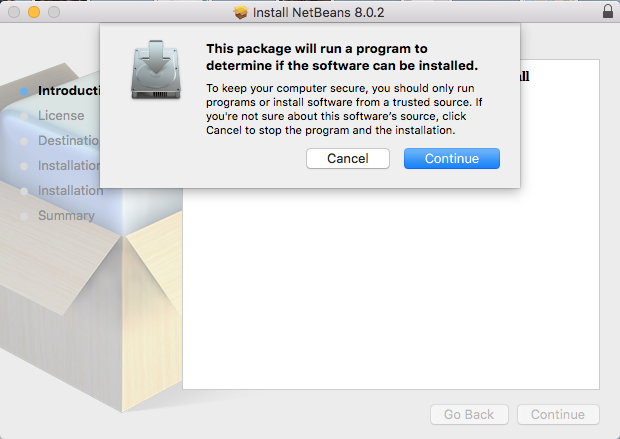
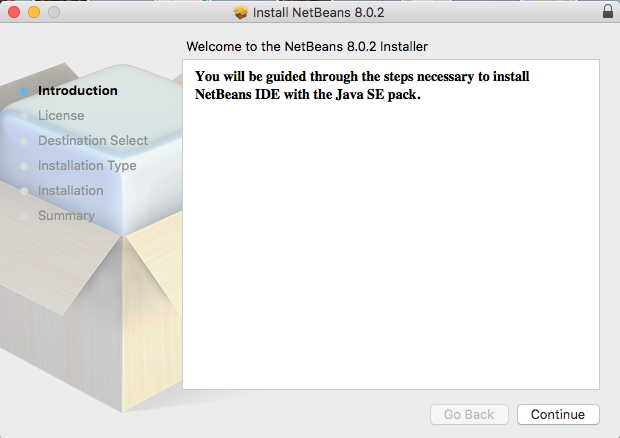
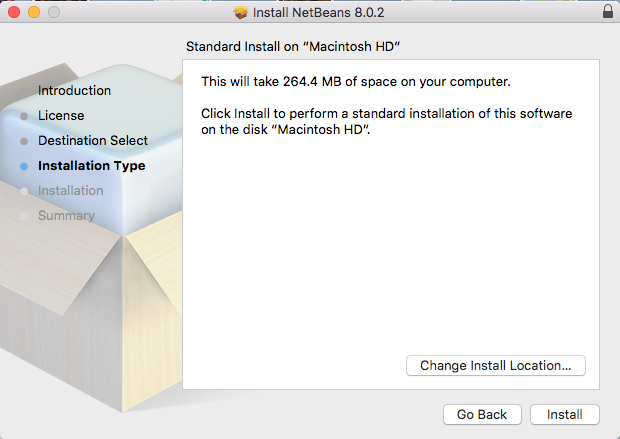
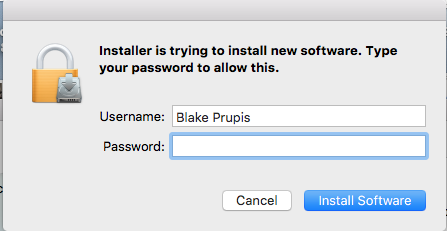
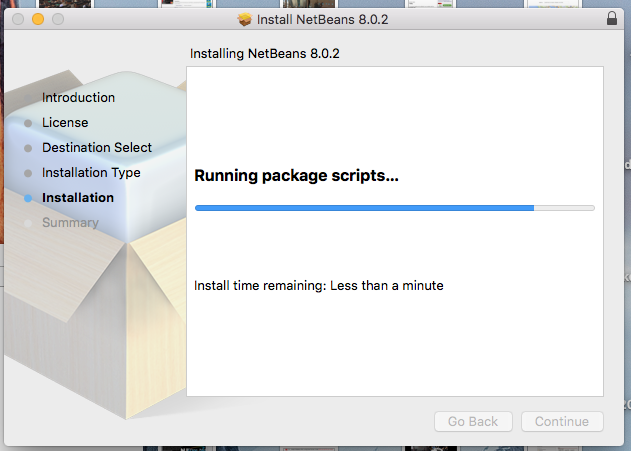
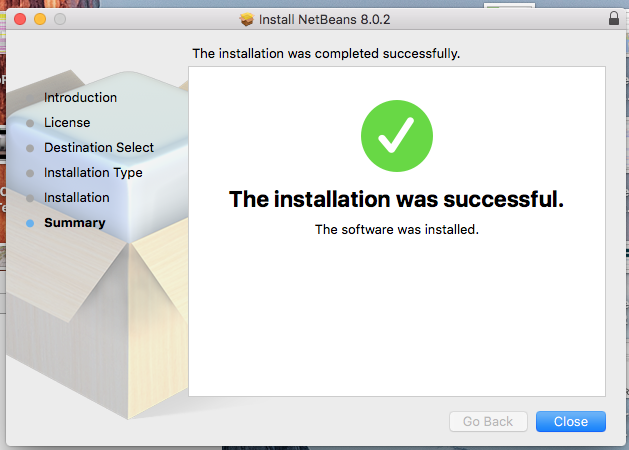
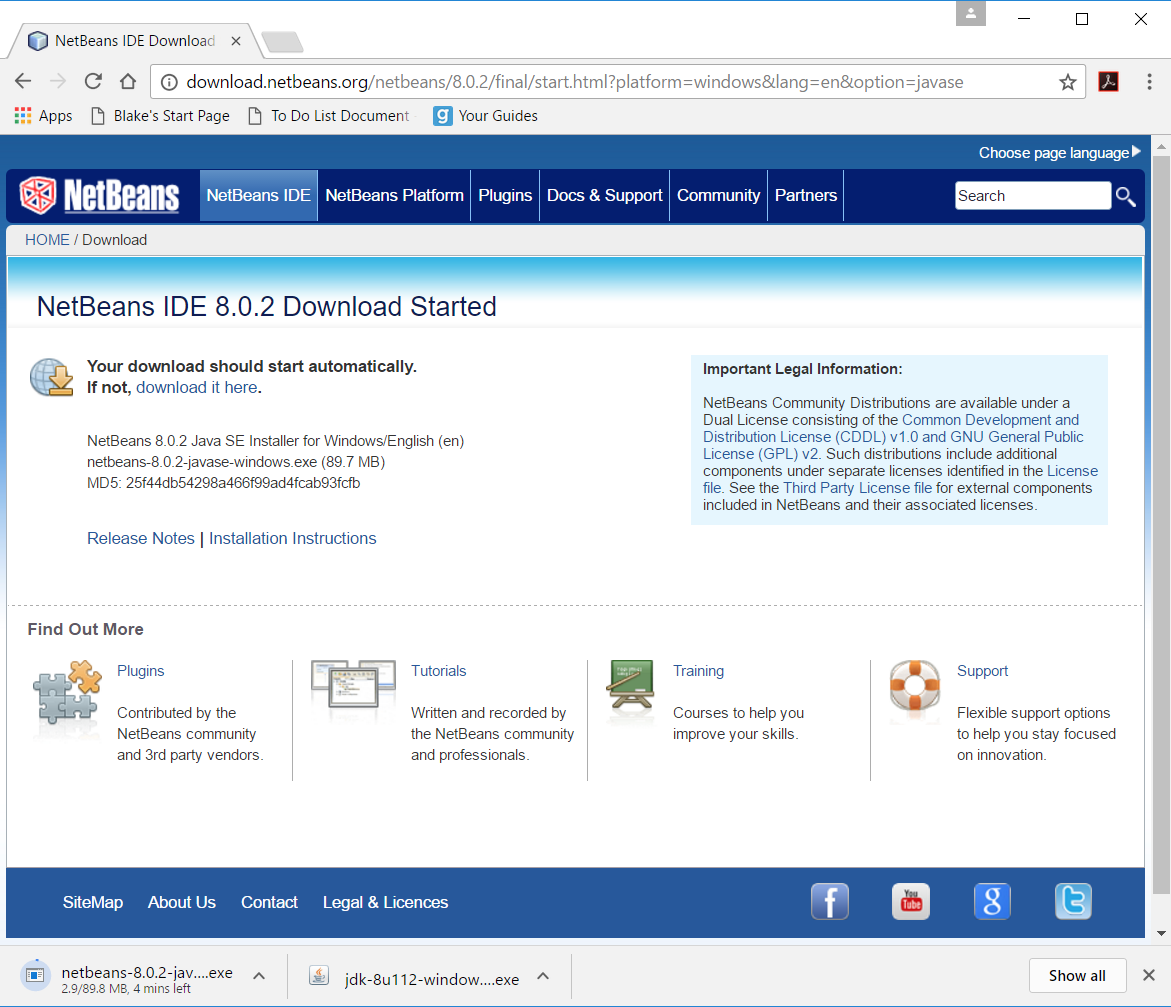
- page 597 Appendix A - Fri Jan 6, 2017 the JDK & NetBeans installed successfully.
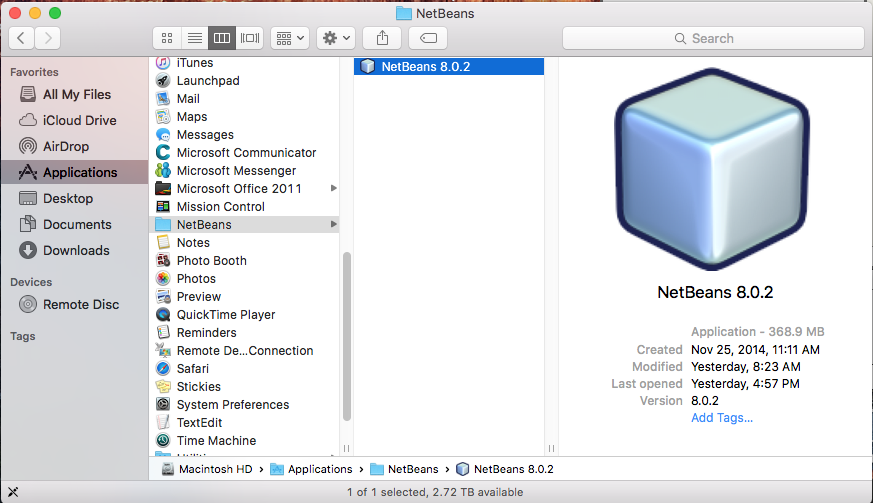
- page 598 first view of the NetBeans 8.0.2 from the Finders window's Applications choice
- page 598 first view of NetBeans IDE after Splash Screen
- Selected the "New Project" button, the yellow folder with the green plus sign
- Note: it defaults to the "Java" Category on the left and "Java Application" on the right
- page 599 the New Project Window is first displayed
- page 600 Project Name and Project Location
- page 600 Project Location displays the root folder
- in Windows this is a subfolder of My Documents called NetBeansProjects
- on my apple "NetBeansProjects" is under "blakeprupis" as follows: /Users/blakeprupis/NetBeansProjects
- page 600 Project Name enter Java21, note the original name displayed is "JavaApplication1"
- page 600 after changing "Project Name" from JavaApplication1, a default name, to Java21
- page 600 Note that "The Create Main Class" text box changes to respond to the input entered in Project Name
- recommending java21.Java21 as the name of the main Java class in the project.
- page 600 Change this to Spartacus and click the Finish button.
- page 600 after changing "Create Main Class" from java21.Java21 to Spartacus.
- page 600 after pressing the Finish button, the window below is displayed.
- page 600 when NetBeans creates a new project, it sets up all the necessary files and folders and creates starting code for the main class.
- the window above shows the first class in your project, Spartacus open in the source editor
- page 601 Spartacus is a bare-bones Java class that consist of only a main() method.
- all the light grey lines of code in the class are comments that exist to explain the class's purpose and function
- comments are ignored when the class is run.
- page 601 to make the new class do something, add the following line of code on a new line right below the comment // TODO code application logic here:
- system.out.println("I am Spartacus!");
- page 601 the method System.out.println()displays a string of text - in this case, the sentence "I am Spartacus!"
- page 601 Right-clicked "Spartacus.Java" from the Projects Pane and selected "Compile Code" from the submenu.
- page 602 Right-clicked "Spartacus.Java" from the Projects Pane and selected "Run File" from the submenu.
- page 602 I am Spartacus! is displayed in the Output Pane.
- page 603 the book wants us too break the code to see how NetBeans behaves.
- This is the before shot, before I remove the semi-colon I entered with the new line.
- page 603 This is the after shot, after I removed the semi-colon I entered with the new line.
- page 603 By hoovering the mouse cursor to the red warning icon, a warning is displayed inside the yellow Tool Tip.
- page 603 Replacing the semi-colon gets rid of the error warnings.
- note that the "Save All" button is displaying a blue color for it's icon.
- page 603 Replacing the semi-colon gets rid of the error warnings.
- note that the "Save All" button is displaying a grey color for it's icon, indicating all files are saved.
- I also right-cliked Spartacus.java and selected "Run File" from the submenu.
- The Output pane displayed good results again.
- page 604 Expanding and Shrinking a pane
- page 604 double clicking the tab Spartacus.jave has this pane in the entire NetBeams Window
- page 604 double clicking the tab again brings back the other pane's views
- page 605 Oracle offers Training and Documentation resources at www.netbeans.org/kb
- The end of Appendix A
- Top
- page 019 Creating a Class by doing this exercise.
- It looks like we can use the same code we created earlier to confirm that the JDK & NetBeans works correctly.
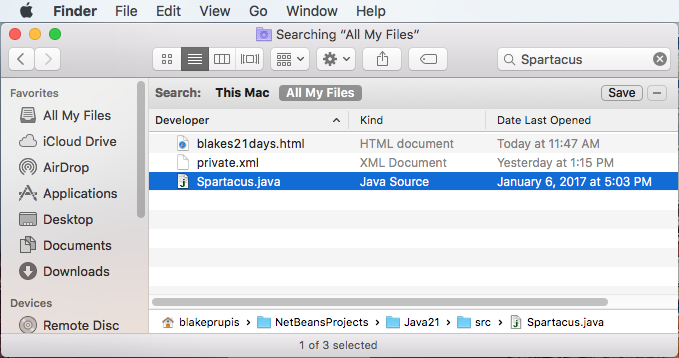
- The following screenshot is the Finder window displaying the folder where Spartacus.java resides
- The path of Spartacus.java - Macintosh HD/Users/blakeprupis/NetBeansProjects/Java21/src/Spartacus.java
Paths to different files
- Laptop / Windows
- C:\Program Files\Java\jdk1.8.0_112\
- C:\Program Files\Java\jre1.8.0_112\
- The path of Spartacus.java - C:\Users\Blake\Documents\NetBeansProjects\Java21\src\Spartacus.java
- iMac / OS X
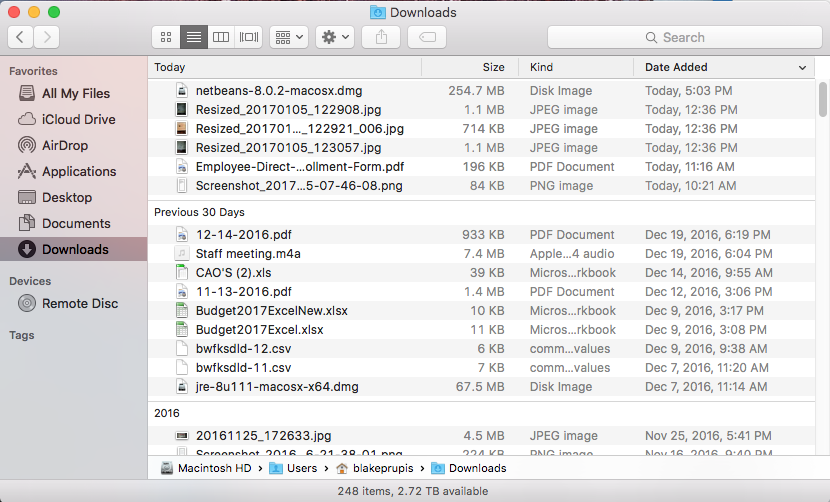
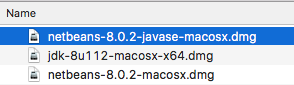
- The path of the NetBeans installation files - Macintosh HD/Users/blakeprupis/Downloads/netbeans-8.0.2-javase-macosx.dmg
- The path of the application NetBeans 8.0.2 - Macintosh HD/Applications/NetBeans/NetBeans 8.0.2
- The path of Spartacus.java - Macintosh HD/Users/blakeprupis/NetBeansProjects/Java21/src/Spartacus.java
- reserve
End of Appendix A, except for the Screenshots below
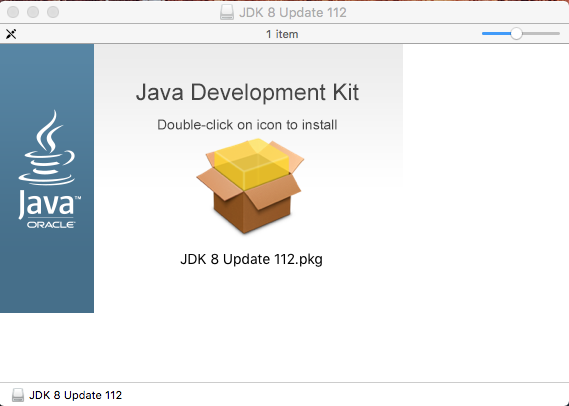
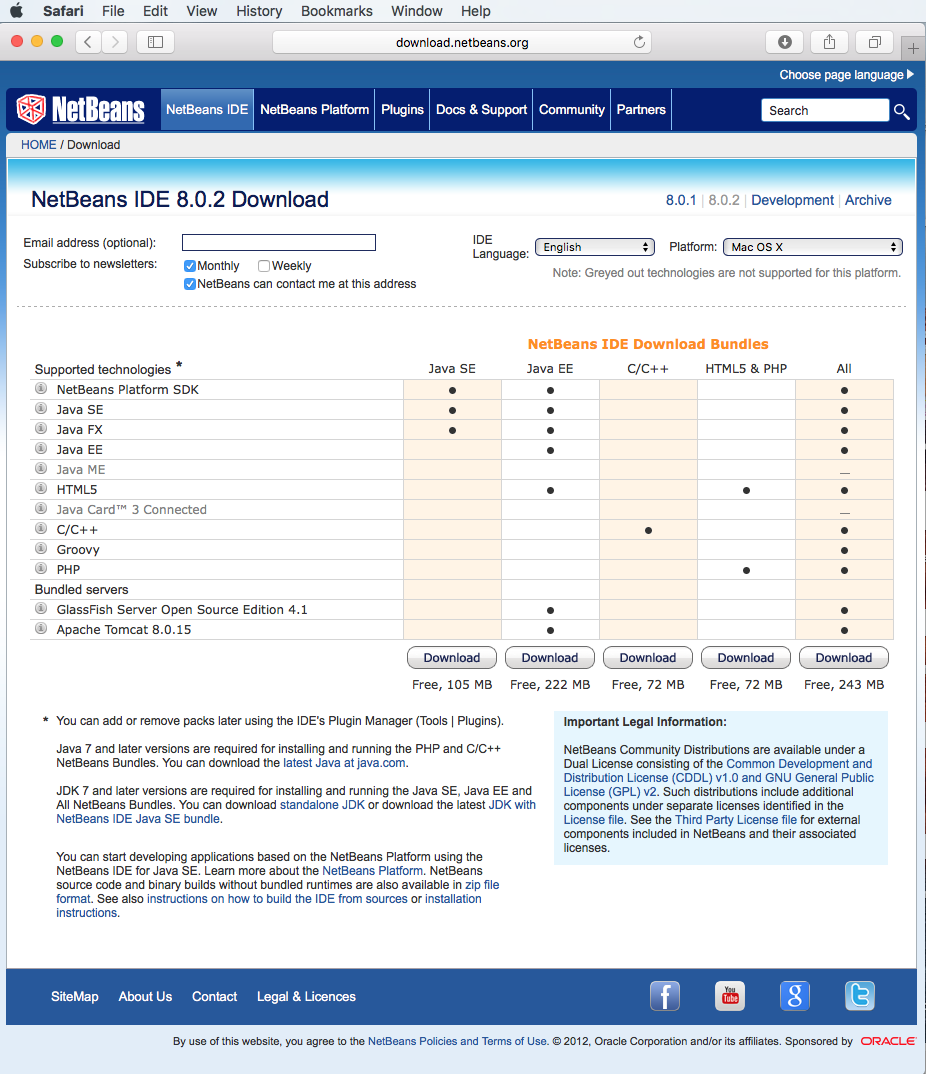
Download JDK 8 - Not Successful
Safari
Firefox
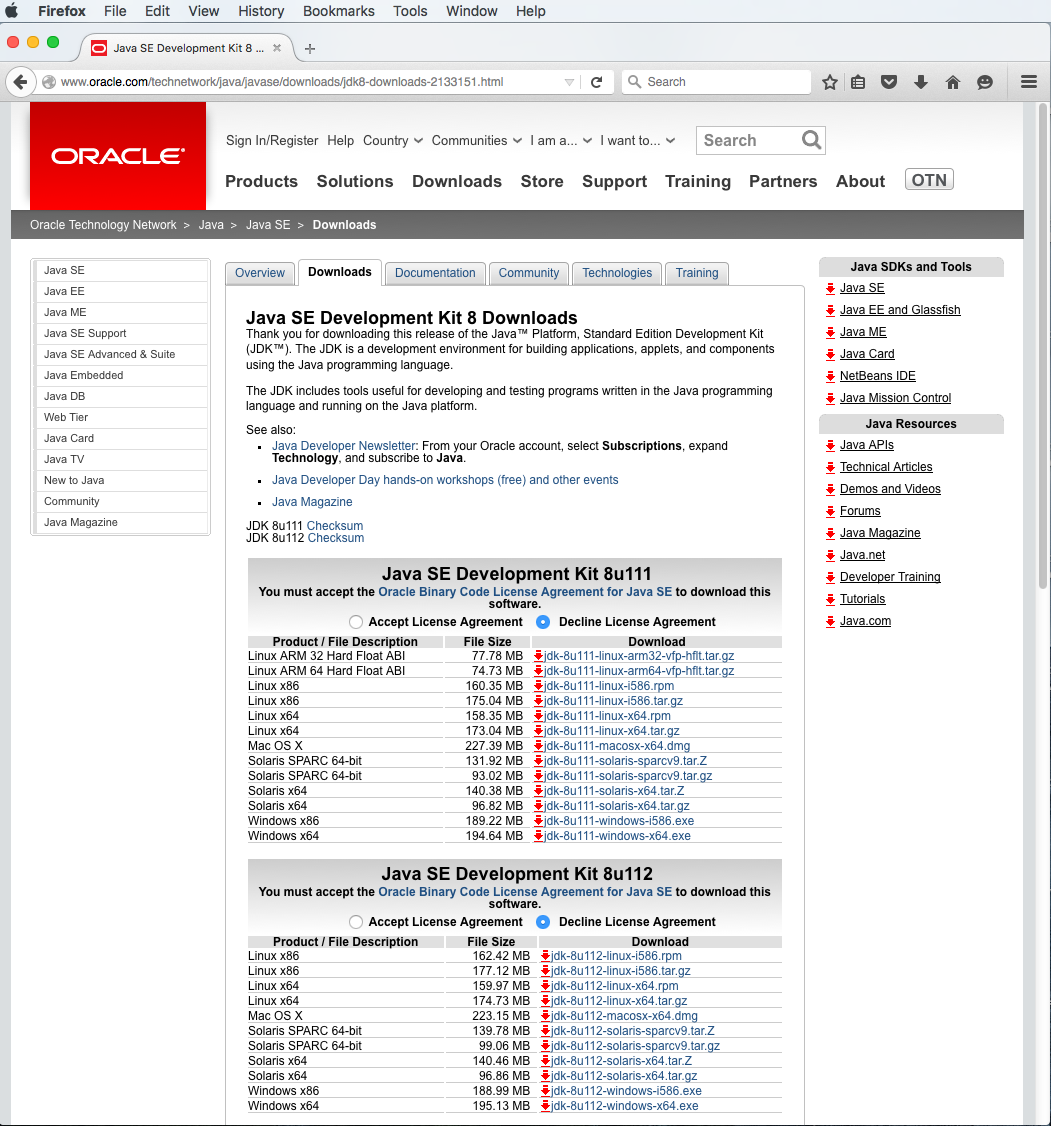
Questions that I answered for "Java SE Development Kit 8 Downloads" using the Firefox browser on my Apple
- for my apple
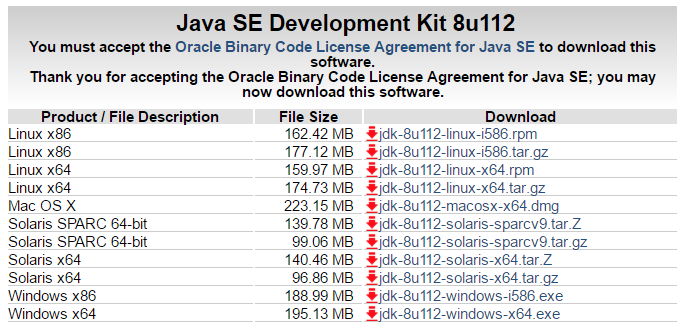
- do I select Mac OS X for 8U111 or 8U112
- I choosed Mac OS X for 8U112
- I was able to download the JDK from Oracle, then downloaded NetNeans 8.0.2 SE using the Safari browser
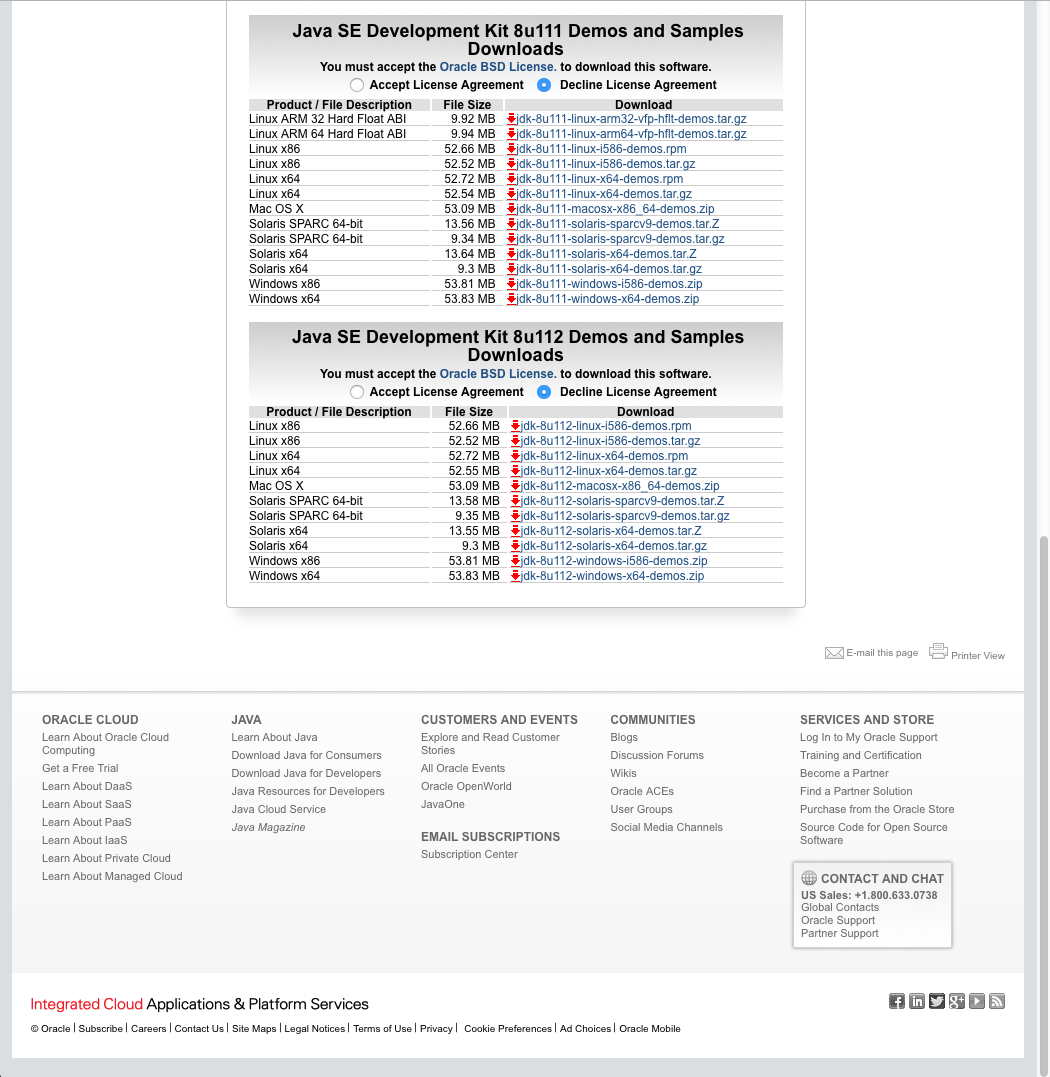
- then there is 8U111 or 8U112 Demos and Samples Downloads
- I would now need to use the 8U112 version since I selected that version for the JDK
- reserve
- for my laptop - haven't tried yet
- do I select Windows x86 or Windows x64 for 8U111 or 8U112
- then there is 8U111 or 8U112 Demos and Samples Downloads for Windows x86 or Windows x64
Download NetBeans - Not Successful
- Top
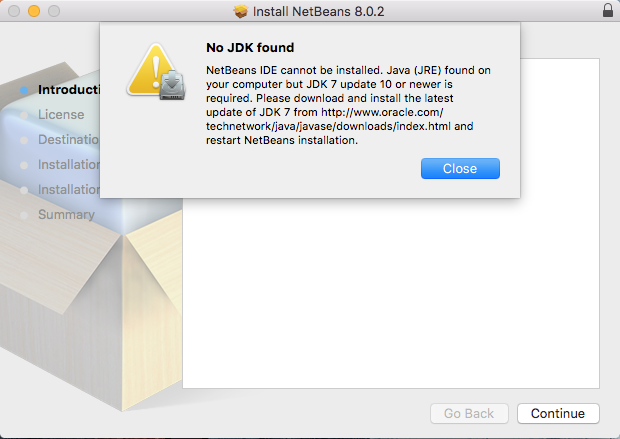
- The reason it wasn't successful was because I did motinstall the JDK from Oracle first.
Another Failure
- Are we suppose to run the other link first
- or just beef up version 7 ?
Java SE Development Kit 8 Downloads (8u112 for Mac OS X) - Success

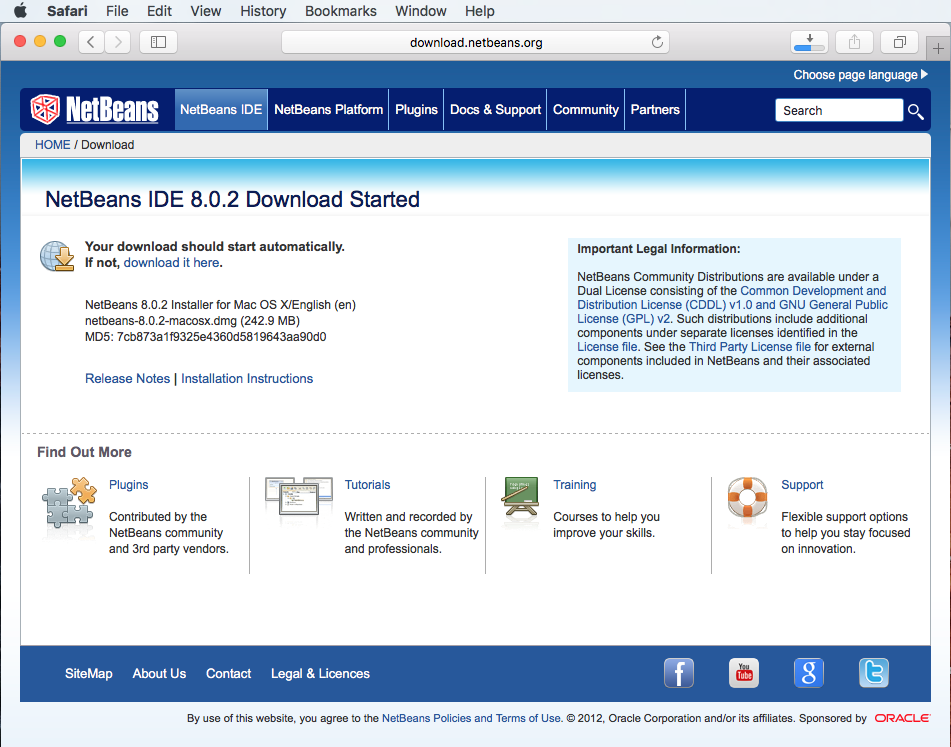
Downloaded NetBeans IDE 8.0.2 using Java SE - Success


Using NetBeans
- Top | Appendix A
- page 598 first view of the NetBeans 8.0.2 from the Finders window's Applications choice
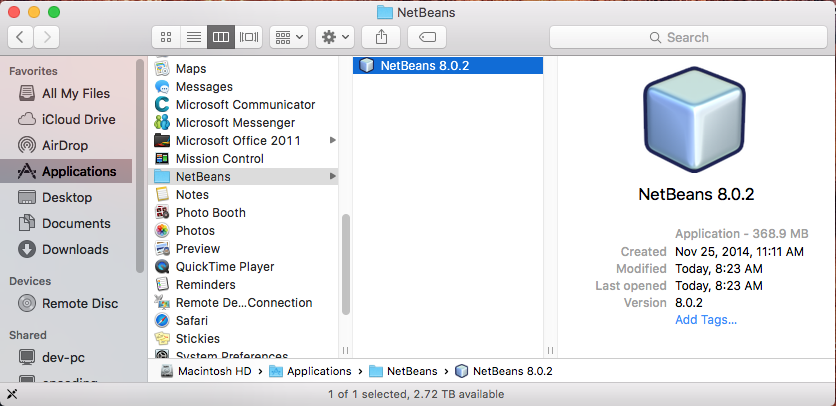
- the Finder window with Applications choosen, there's NetBeans 8.0.2
Splash Screen
- Top | Appendix A
- first view of the Splash Screen after selecting NetBeans 8.0.2 from the Finders window.
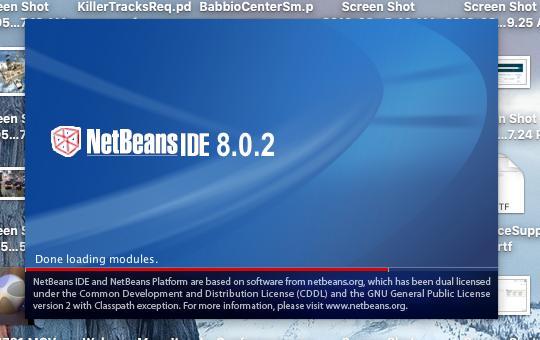
- the Splash screen for NetBeans 8.0.2
first view of NetBeans
- Top | Appendix A
- page 598 first view of NetBeans IDE after Splash Screen
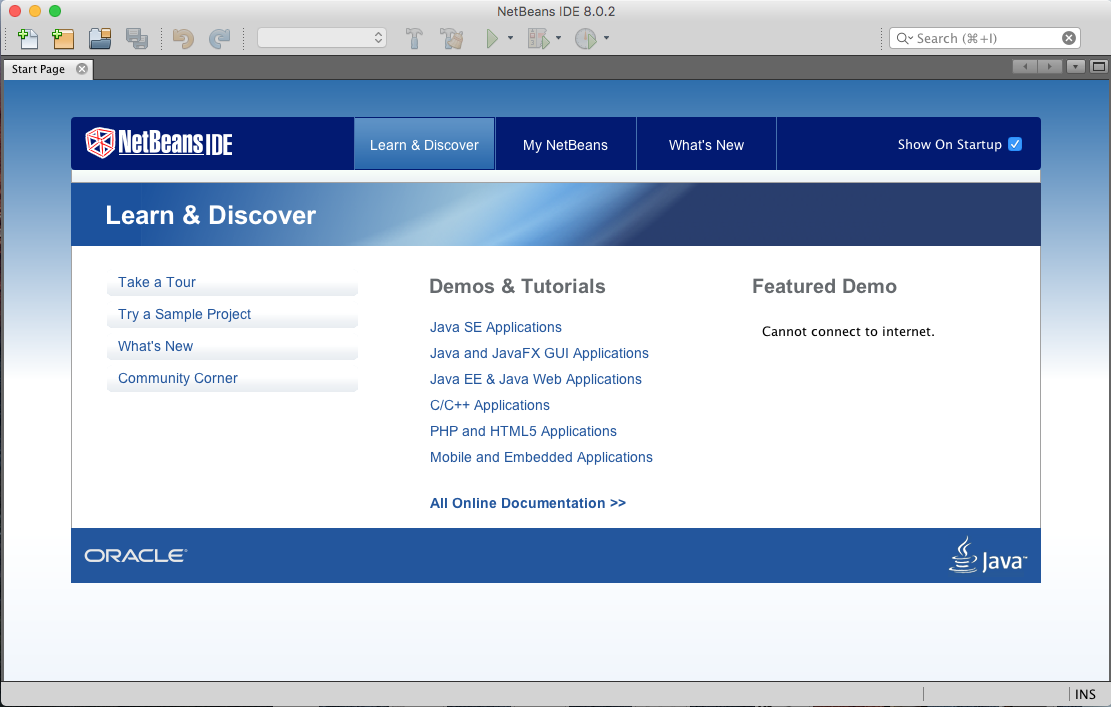
- first time seeing NetBeans 8.0.2 on my Apple
- Selected the "New Project" button, the yellow folder with the green plus sign
- Note: it defaults to the "Java" Category on the left and "Java Application" on the right
New Project window
- Top | Appendix A
- page 599 the New Project Window is first displayed

- Top | Appendix A
- page 600 the book wants me to select the "Next" button
Name and Location
- Top | Appendix A
- page 600 Project Location displays the root folder
- in Windows this is a subfolder of My Documents called NetBeansProjects
- on my apple "NetBeansProjects" is under "blakeprupis" as follows: /Users/blakeprupis/NetBeansProjects
- page 600 Project Name enter Java21, note the original name displayed is "JavaApplication1"
After changing "Project Name"
- Top | Appendix A
- page 600 after changing "Project Name" from JavaApplication1, a default name, to Java21
- Top | Appendix A
- page 600 Note that "The Create Main Class" text box changes to respond to the input entered in Project Name
- recommending java21.Java21 as the name of the main Java class in the project.
- page 600 Change this to Spartacus and click the Finish button.
After changing "Create Main Class"
- Top | Appendix A
- page 600 after changing "Create Main Class" from java21.Java21 to Spartacus.

view code for first time
- Top | Appendix A
- page 600 after pressing the Finish button, the window below is displayed.

- Top | Appendix A
- page 600 when NetBeans creates a new project, it sets up all the necessary files and folders and creates starting code for the main class.
- the window above shows the first class in your project, Spartacus open in the source editor
- page 601 Spartacus is a bare-bones Java class that consist of only a main() method.
- all the light grey lines of code in the class are comments that exist to explain the class's purpose and function
- comments are ignored when the class is run.
- page 601 to make the new class do something, add the following line of code on a new line right below the comment // TODO code application logic here:
- system.out.println("I am Spartacus!");
- page 601 the method System.out.println()displays a string of text - in this case, the sentence "I am Spartacus!"
after inserting new line of code
Compile Code
- Top | Appendix A
- page 601 Right-clicked "Spartacus.Java" from the Projects Pane and selected "Compile Code" from the submenu.
Run File
- Top | Appendix A
- page 602 Right-clicked "Spartacus.Java" from the Projects Pane and selected "Run File" from the submenu.
Output Pane first appears
- Top | Appendix A
- page 602 I am Spartacus! is displayed in the Output Pane.
- Top | Appendix A
- The end of testing NetBeans and verifying that the JDK & NetBeans had a proper install.
Fixing Errors
the Before shot
- Top | Appendix A | Fixing Errors
- page 603 the book wants us too break the code to see how NetBeans behaves.
- This is the before shot, before I remove the semi-colon I entered with the new line.
- reserve
the After shot
The yellow Tool Tip
- Top | Appendix A | Fixing Errors
- page 603 By hoovering the mouse cursor to the red warning icon, a warning is displayed inside the yellow Tool Tip.
replacing the semi-colon gets rid of the error warnings
- Top | Appendix A | Fixing Errors
- page 603 Replacing the semi-colon gets rid of the error warnings.
- note that the "Save All" button is displaying a blue color for it's icon.
- reserve
after "Saving All" button pressed and "Run File" selected
- Top | Appendix A | Fixing Errors
- page 603 Replacing the semi-colon gets rid of the error warnings.
- note that the "Save All" button is displaying a grey color for it's icon, indicating all files are saved.
- I also right-cliked Spartacus.java and selected "Run File" from the submenu.
- The Output pane displayed good results again.
- reserve
Opening Sparticus.java to see the code
Sparticus.java displayed in the Projects pane, Start Page tab has focus
Sparticus.java displayed with it's submenu
Sparticus.java code is revealed
Creating a NetBeans alias and placing it into the Dock
- Top
- Right-click NetBeans 8.0.2 from the Finder Window
- and select "Make Alias" from the submenu
- the alias is placed in the same folder as NetBeans 8.0.2
- folder name and path: Applications/NetBeans
- Drag and drop "NetBeans 8.0.2 alias" onto the Dock
- the original "NetBeans 8.0.2 alias" from the NetBeans folder is still there
- the Cube icon is displayed in the Dock
- reserve
Expanding and Shrinking a pane
- Top | Appendix A | Fixing Errors
- The Normal view. 4 panes are displayed
- Project, Navigater, source editor / java programing code, Output panes
- we will do the following exercise
- page 604 double clicking the tab Spartacus.jave has this pane in the entire NetBeams Window
- page 604 double clicking the tab again brings back the other pane's views
- reserve
Expanding and Shrinking a pane
- Top | Appendix A | Fixing Errors
- page 604 double clicking the tab Spartacus.jave has this pane in the entire NetBeams Window
- Note the other Panes or Tabs are listed Vertically on the left side of the window.
- reserve
Expanding and Shrinking a pane

Install the Java SE Development Kit 8u112 for Windows x64 on my Laptop
- Top
- page xxx my laptop has a 64 bit processor
- reserve
- from the File Manager screen
- Path: Downloads/jdk-8u112-windows-x64.exe - This is the downloaded file used to install the JDK
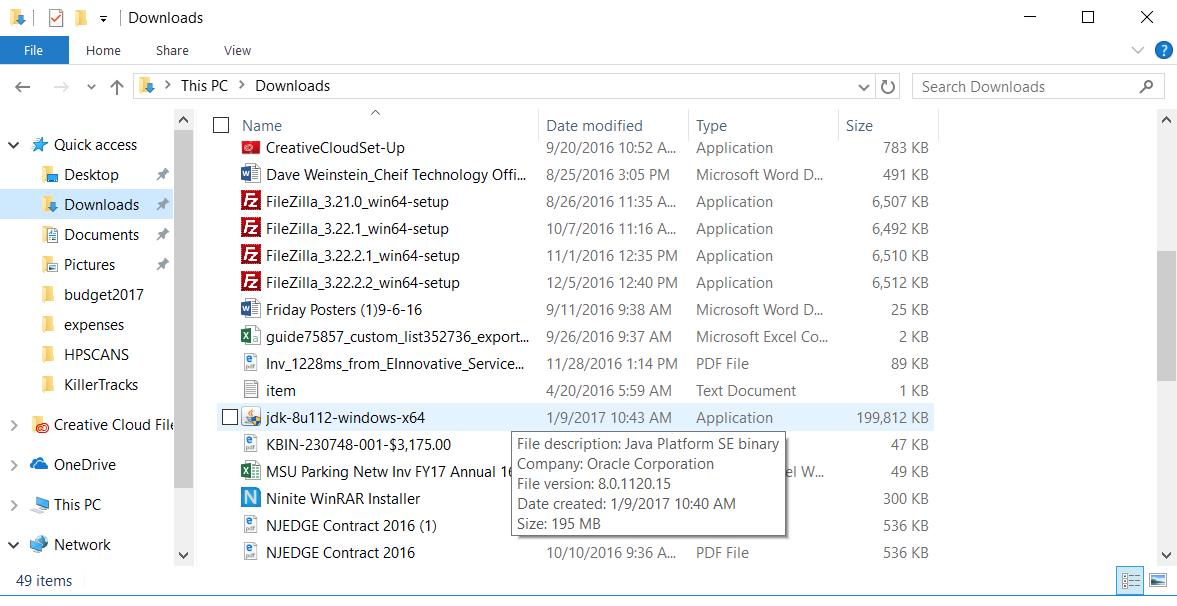
- the jdk will use this path: C:\Program Files\Java\jdk1.8.0_112\
- preparing for the installation

- preparing for the installation
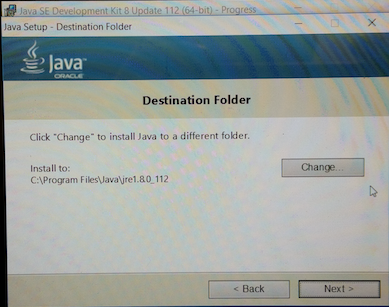
- Note the path: C:\Program Files\Java\jre1.8.0_112
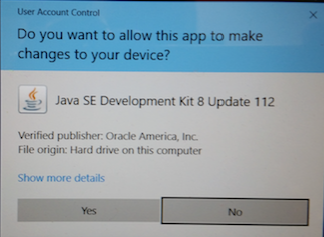
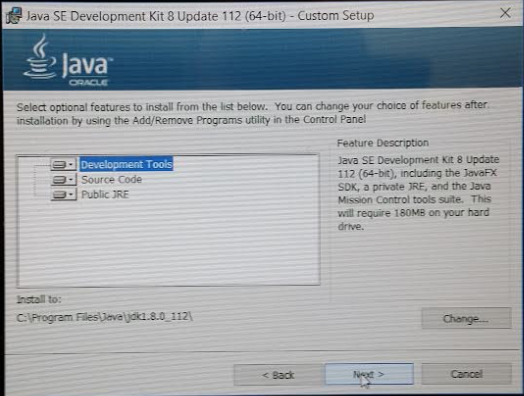
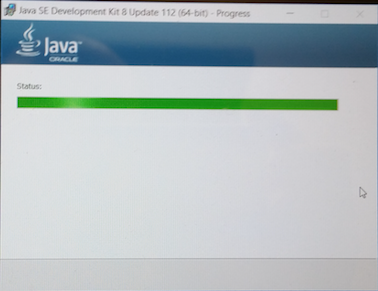
- Running the JDK Installation
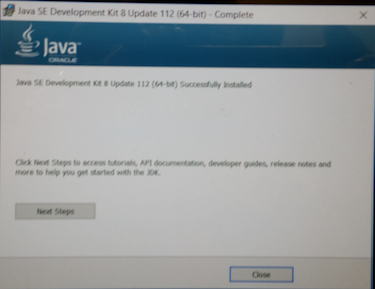
- Java SE Development Kit 8 Update 112 (64-bit) Successfully Installed on my Laptop
Installing NetBeans on the Laptop
- Top
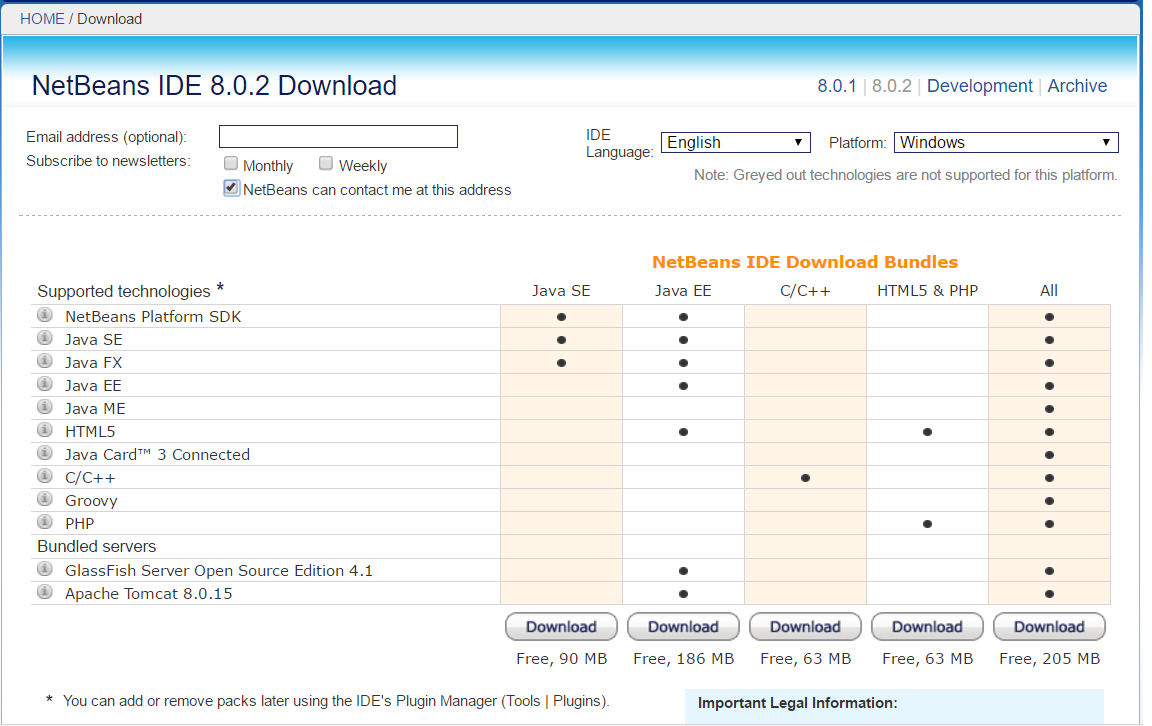
- I will select Java SE Download for NetBeans IDE 8.0.2 Download
- Top
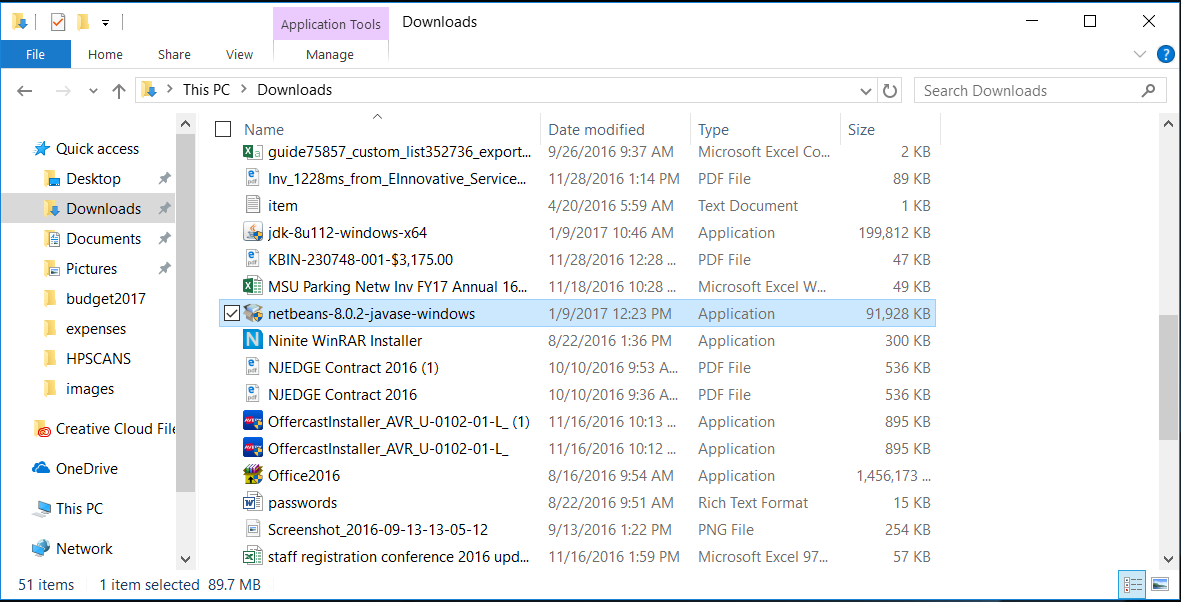
- note the incomplete file name: netbeans-8.0.2-jav.....exe
- Top
- from the File Manager screen
- path: Downloads/netbeans-8.0.2-javase-windows
- Top
- Of course you select Yes
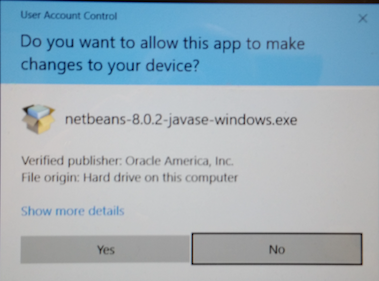
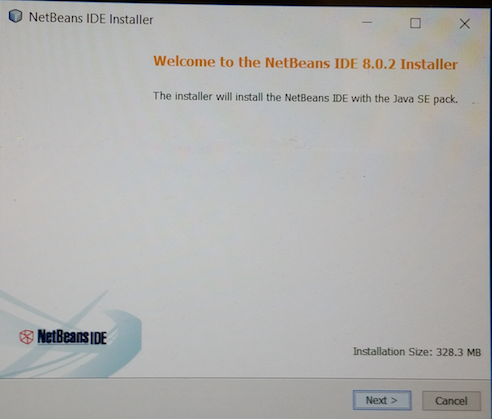
- a couple of screens just wizzed by, then this screen got displayed
- note that this screen says: The installer will install the NetBeans IDE with the Java SE pack.
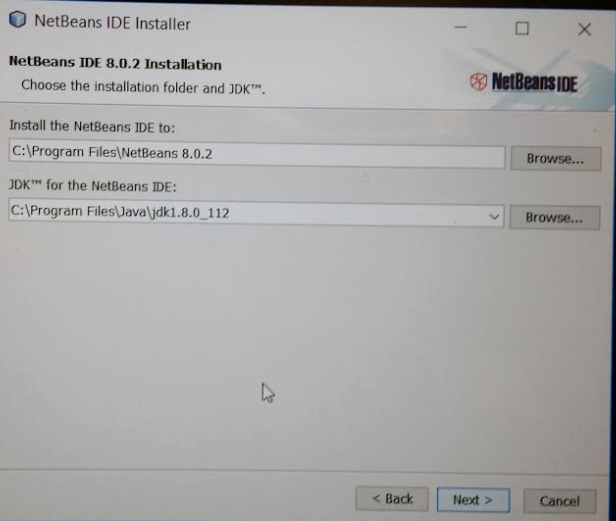
Installation Folders
- Top
- Install the NetBeans IDE to:
- C:\Program Files\NetBeans 8.0.2
- JDK for the NetBeans IDE:
- C:\Program Files\Java\jdk1.8.0_112
- reserve
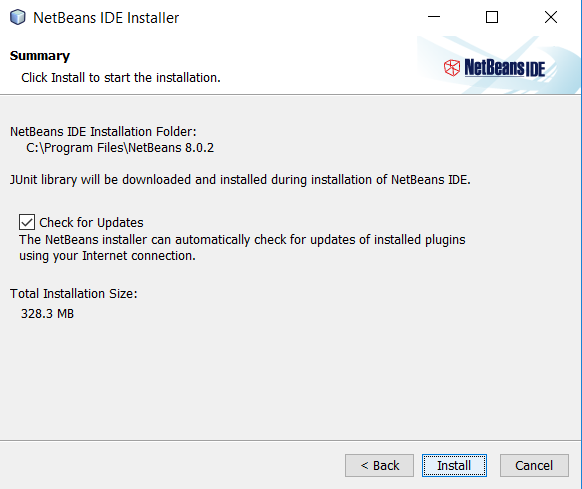
- Top
- Summary screen displayed with the Install button to continue the installation.
- Top
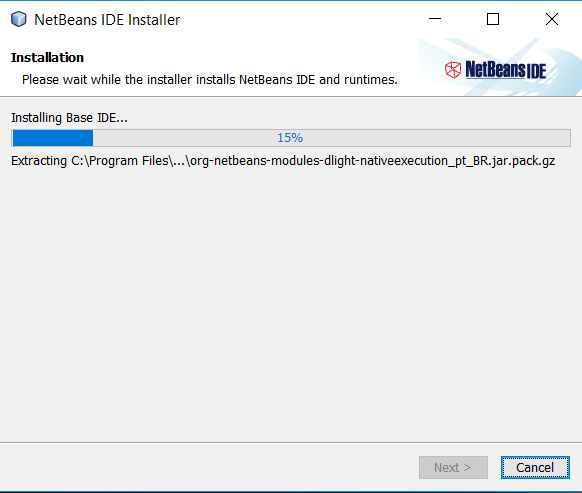
- Installation is happening.
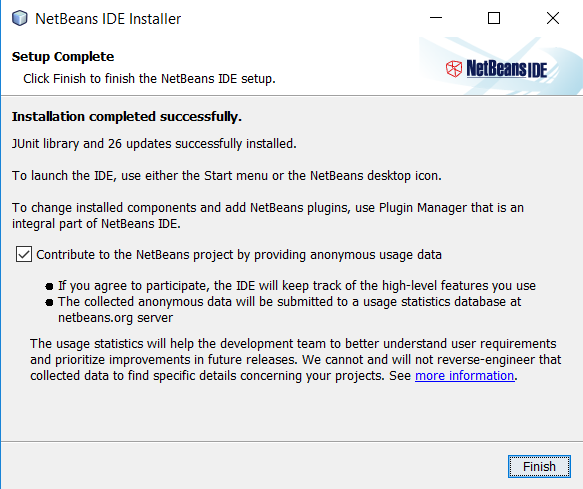
Setup Complete
First time viewing Netbeans on my Laptop
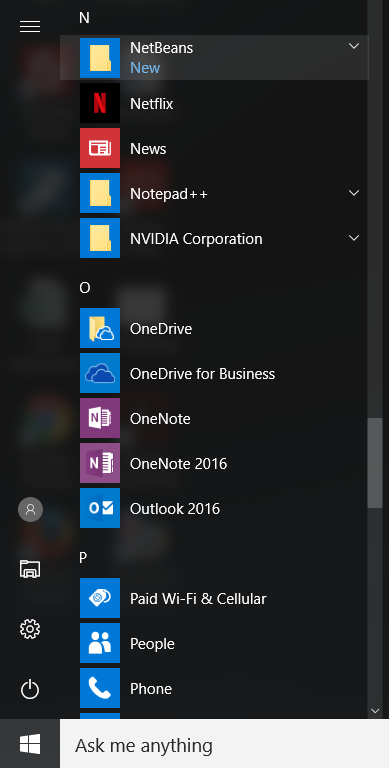
NetBeans seen from the Start Button
NetBeans seen from the Desktop

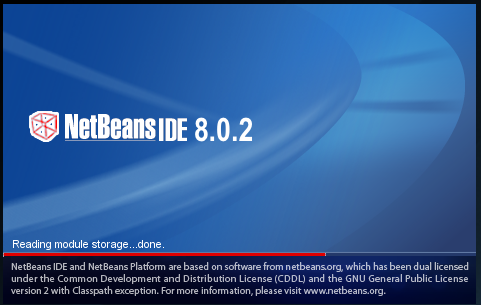
The Splash screen
The New Project button
After clicking the Next button
Changing Project Name
Changing Name to Create Main Class
First time seeing code
Adding the line of code
- Top
- I actually had an error until I capitalized System
Compiling the Java Code

Run File
From Version 23
- set up Java on laptop & iMac
Back to the Top ?